|
|
4 days ago | |
|---|---|---|
| .. | ||
| Assets | 4 days ago | |
| Registry | 2 years ago | |
| docs | 3 months ago | |
| .gitignore | 2 years ago | |
| CMakeLists.txt | 4 months ago | |
| README.md | 3 months ago | |
| gem.json | 4 days ago | |
| preview.png | 2 years ago | |
README.md
Warehouse Assets Gem
General description
This gem contains a set of models and prefabs that can be used to create a warehouse project suitable for robotic simulations.
Note: in O3DE there are 2 ways you can alter instantiated prefab: by changing prefab instance or prefab definition (source). If you modify prefab source, all instances will be altered. Thus unless you really know what you are doing, you should edit instances only. Please refer to this document to learn about working with prefabs.
Contents
All the contents of this gem reside in the folder Assets. It comprises 2 sub-folders:
assetscontaining models, textures, and material definitions,Prefabscontaining prefabs that can be used to build the scene.
The Prefabs folder has the following structure:
All the prefabs have appropriate physics parameters including collision shapes.
Basic Components
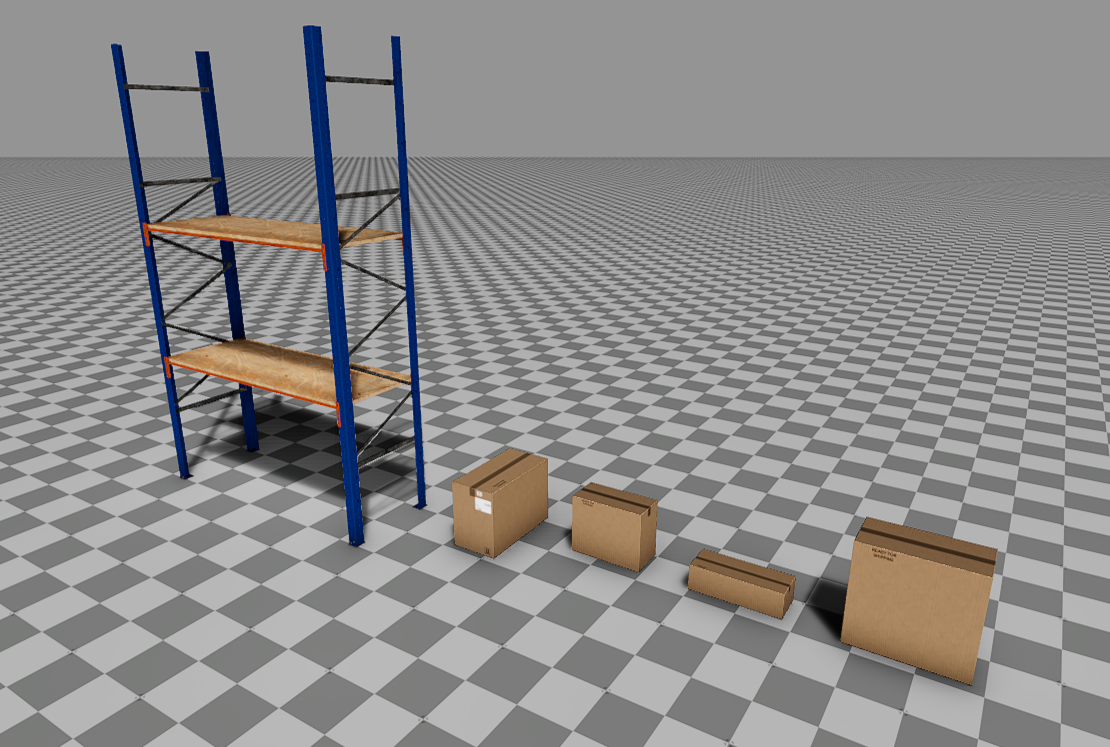
A set of basic items to be used in the warehouse is located in the Components folder. The prefabs (in the image, left to right):
WarehouseRack.prefabWarehouseBox1.prefabWarehouseBox2.prefabWarehouseBox3.prefabWarehouseBox4.prefab
Storage Racks
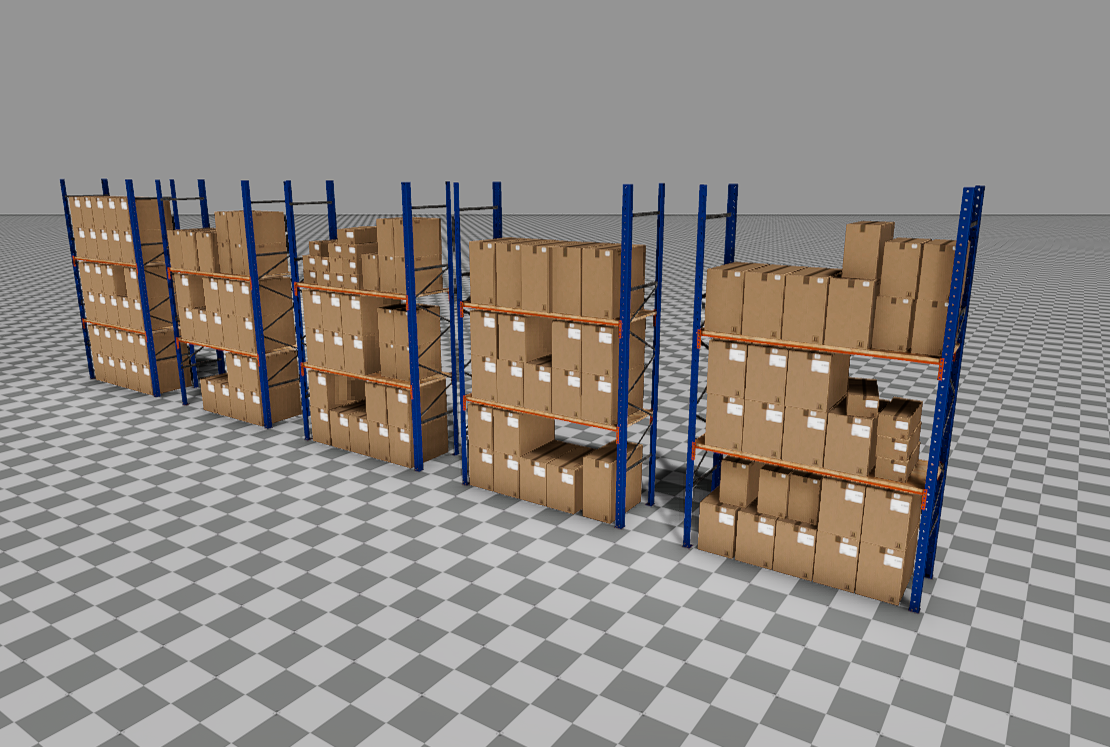
Storage racks are created from basic components, combined in 5 different permutations. The prefabs (in the image, left to right):
Storage_rack1.prefabStorage_rack2.prefabStorage_rack3.prefabStorage_rack4.prefabStorage_rack5.prefab
Storage Rack Packs
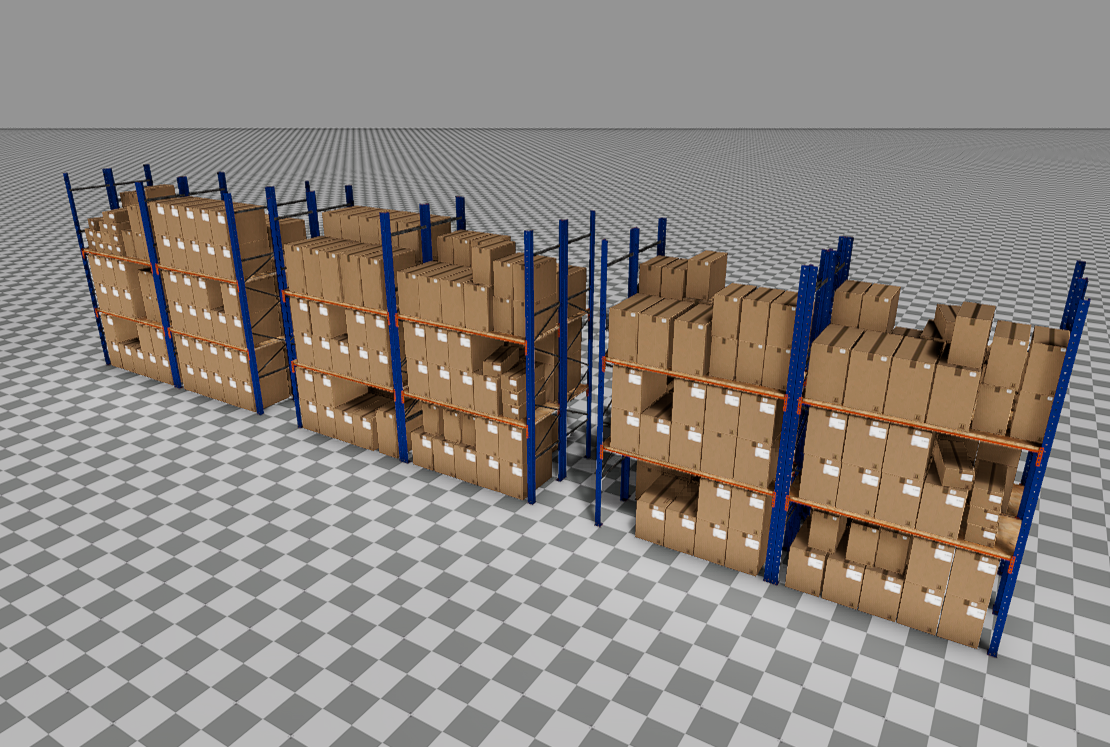
The rack packs were created by stacking 4 storage rack prefabs in different combinations. These prefabs may simplify creating larger warehouses. The prefabs (in the image, left to right):
Storage_2x2_Pack1.prefabStorage_2x2_Pack2.prefabStorage_2x2_Pack3.prefab
Storage on Wheels
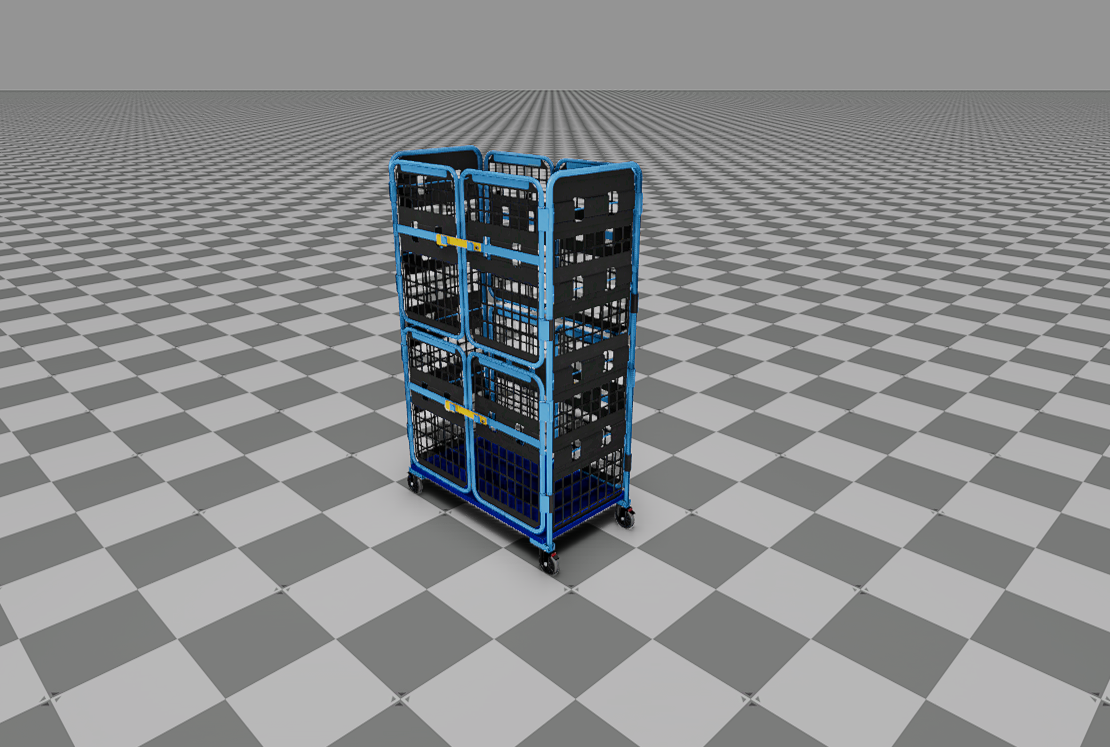
Storage_on_wheels.prefab is a storage cage on wheels. As opposed to other prefabs it can be moved around the scene. The collision shape was designed in a way, that allows the Proteus robot to ride below it.
Rack protection
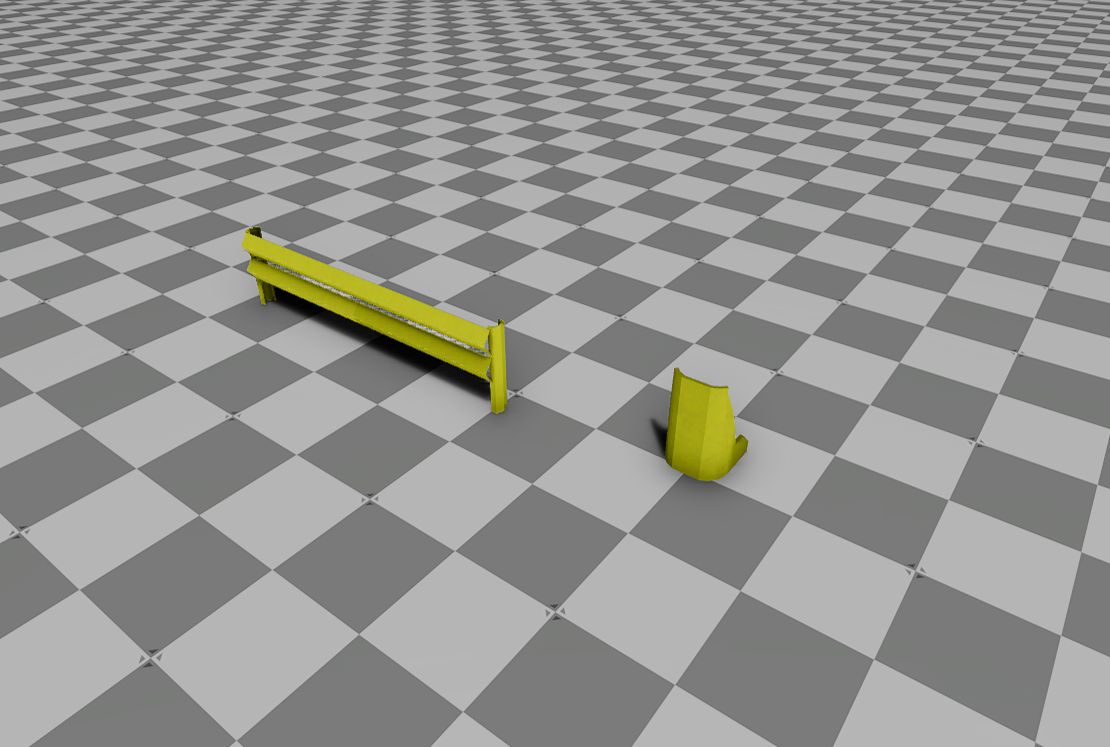
There are 2 elements, located in the Rack_protectors folder, that can be placed next to the racks. These are (in the image, left to right):
Rack_front_protection.prefabRack_side_protection.prefab
Misc
The Misc folder contains prefabs with floor lines.
Warehouse structural
The Warehouse_structural folder contains prefabs comprising the warehouse building. These are:
Warehouse_Floor.prefabWarehouse_Walls.prefabWarehouse_Roof.prefab
The folder contains also a Components subfolder, containing assets used in these 3 prefabs.
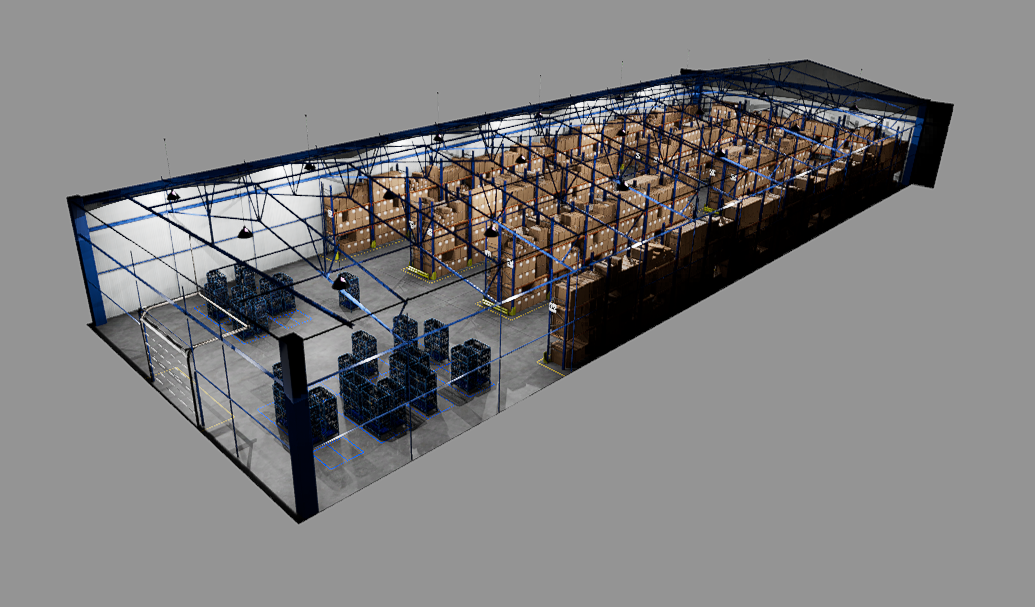
Warehouse scene
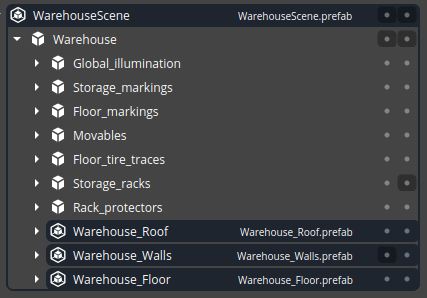
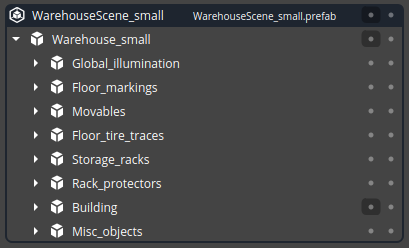
The WarehouseScene.prefab contains a sample, ready-to-use warehouse scene, built from prefabs listed in this document. It is built as a tree of assets and prefabs defining each element of the warehouse. The top-level objects are shown in the following image:
Global_illuminationcontains lights imitating global illumination andReflection Probeobjects.Storage_markingscontains number boards on storage racks.Floor_markingscontains decal objects with floor lines.MovablescontainsStorage_on_wheelsprefabs.Floor_tire_tracescontains decal objects with tire traces.Storage_rackscontains storage racks arranged in 2 groups:UnpackedwithStorage_rackprefabs.PackswithStorage_2x2_Packprefabs.
Rack_protectorscontains rack protection prefabs.
These objects are followed by instances of warehouse structural assets:
Warehouse_Floor.prefabWarehouse_Walls.prefabWarehouse_Roof.prefab
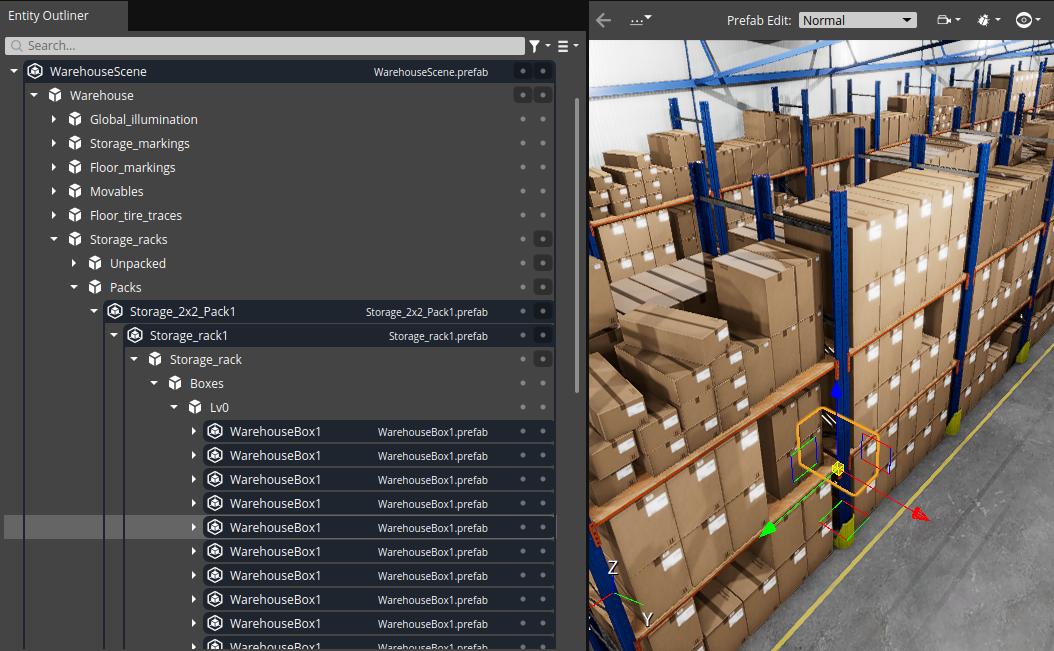
The structure of prefabs in the warehouse scene is highly nested. For example, the location of one of the boxes in the structure looks like this:
Warehouse scene small
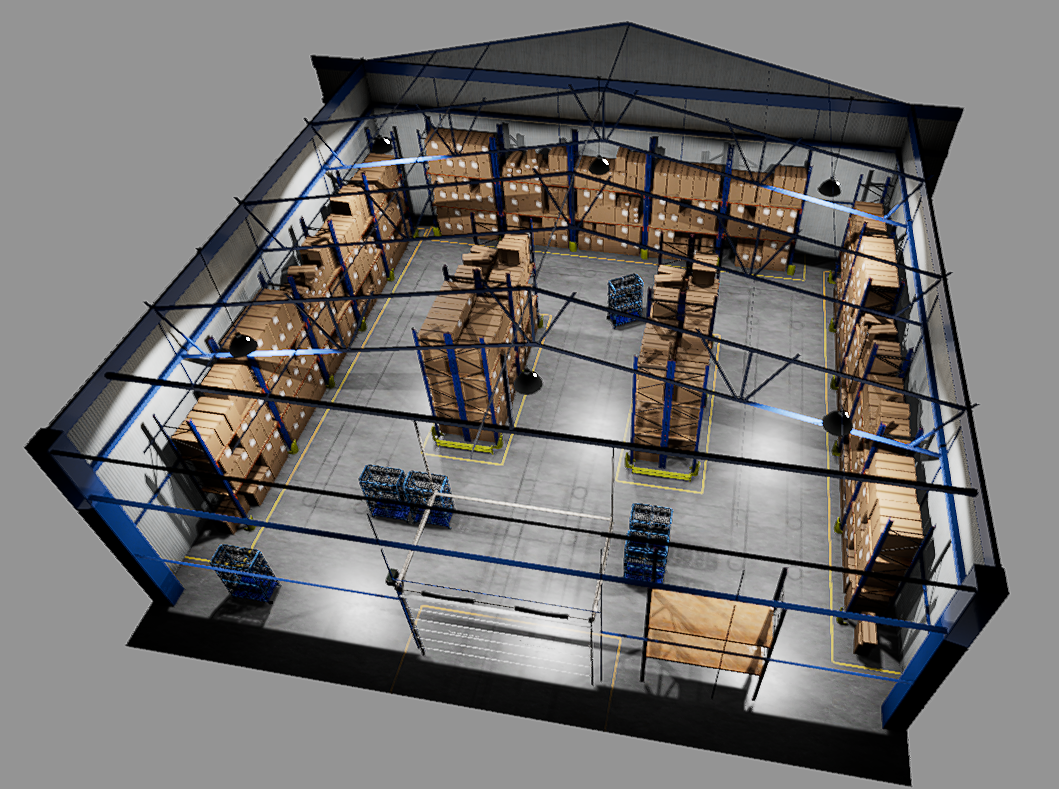
The WarehouseScene_small.prefab contains a smaller version of the Warehouse scene. It is built with the same types of assets as the larger one, only set up in a smaller area. The only different models are side walls and roof. It has also similar arrangement of objects shown in the following image:
Tips on using Warehouse Assets Gem
Creating Warehouse scene
Tip 1
To achieve alignment, all 3 "structural" prefabs (floor, walls and roof) should be instantiated in the same coordinates.
Tip 2
Each of the frontal walls in the Warehouse_Walls.prefab contains optional gate openings and gates. It consists of 3 entities:
Front_no_gates- solid wall without opening,Front_gate- wall with gate opening,Gate- gate matching the opening.
Each of them can be activated or deactivated by enabling or disabling PhysX Collider and Mesh components. It is possible to obtain one of the following variants:
- Solid wall - enable
Front_no_gates, disable the other 2. - Open gate - enable
Front_gate, disable the other 2. - closed gate - enable
Front_gateandGate, disableFront_no_gates.
Tip 3
Warehouses with open gates may be connected by placing them one after another.
Visual quality
Tip 4
For best visual results when using the WarehouseScene.prefab it is advised to apply the following effects to the camera entity:
- Bloom
- SSAO
- Deferred Fog
A sample set of parameters can be seen in this image:
Tip 5
The WarehouseScene.prefab is equipped with 2 Reflection Probes, which can be found in Warehouse/Global_illumination/Reflection_Probe. To work correctly, Reflection Probes require baked materials and, as such, are disabled by default. For a better visual experience, it is advised to enable them. To do so follow these steps:
- Open the
WarehouseScene.prefab. - Navigate to
Warehouse/Global_illuminationand locate 2Reflection_Probeentities. - Select each of them, enable the
Reflection Probecomponent, and clickBake Reflection Probe.


