CharacterGuide.md 12 KB
MPS Character Guide
This is a contributors guide for those doing character work, such as rigging, and animation.
You can follow on of these guide to O3DE get up and running:
Multiplayer sample (MPS) project for the Open 3D Engine
O3DE multiplayer sample assets (this guides parent repository)
o3de-multiplayersample-assets/GettingStarted.md
This guide will help you get up and running with Digital Content Creation tools (DCC), such as Blender or Maya.
Licensing
You must be aware of asset licensing restrictions present in this repository.
Some Assets have been developed by third parties and are subject to separate license terms (such as the Kitbash3D assets or Adobe Mixamo files). It is your responsibility to comply with the applicable licenses for such content should you choose to use these assets in any other project. Information on third party materials, and the applicable license terms, are referenced in or included with the asset artifacts (3d models, texture images, etc.), such as in separate LICENSE*.txt files accompanying the materials in each Gem or Asset subfolders.
If you are contributing new assets to this repository, all contributions must be freely available public domain content, wholly new works of art, or modified and ported conversions of assets with similarly permissible licensing. You must document the origin of assets even if modified and include licensing information for the assets within the assets subfolder (add a LICENSE.txt). Generally all new asset contributions must be made under a permissible open source license, such as: Creative-Commons license (such as LICENSE-CC0.txt or LICENSE-CC-BY-4.0.txt)
YBot Model, Adobe Mixamo
The main character model for the MPS game, is based on the YBot Mixamo character from Adobe (along with the actor using the Mixamo skeleton and animations.) This section covers the construction of the YBot model, with a target of a character with roughly 15K polys in the highest LOD, while trying to retain the visual quality.
This is the native download for the Mixamo YBot:
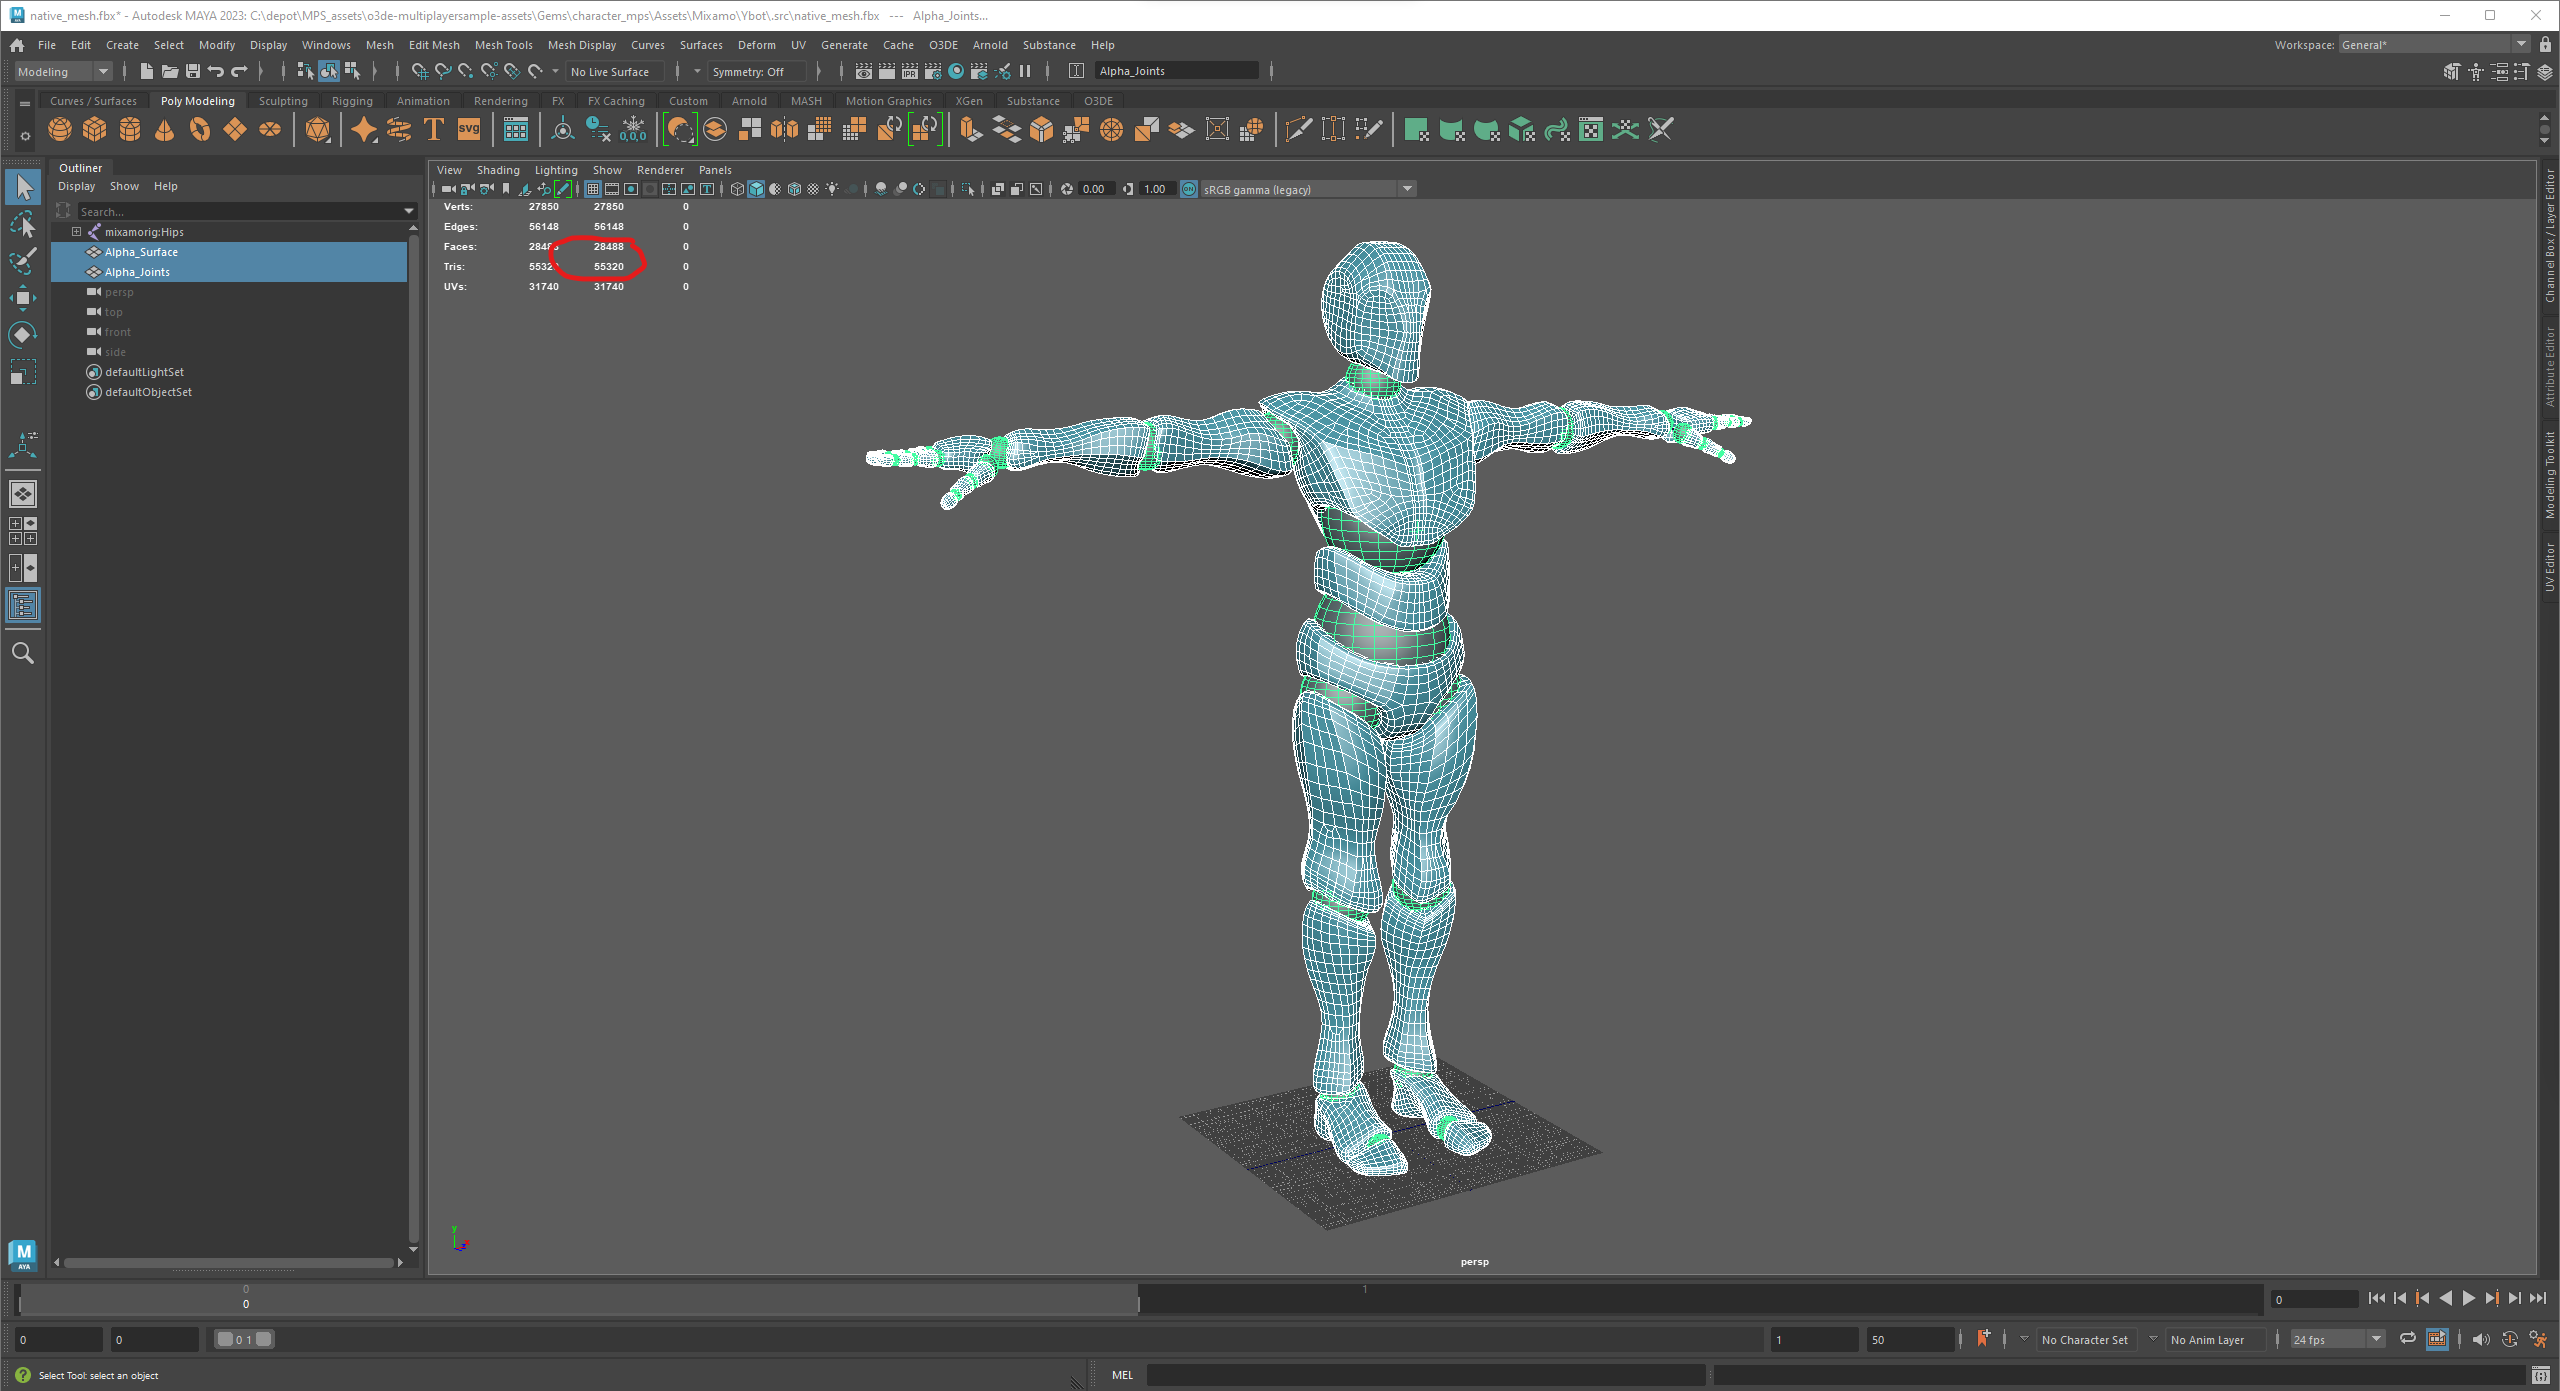
Gems\character_mps\Assets\Mixamo\Ybot\.src\native_mesh.fbx- You could use this 'as is' but the polygon count is 55320 tri's which pretty heavy when we have many players.
- We are shooting for the guidance of 17K or less per-character and 30 players.
- We'd like to be more representative of a AAA game character, with attachments, support player skins, etc.
- This model has hard-crease edges, but we want to use a MikkT tangents modern bake workflows for player skins.
- For reasons such as these, we are going to replace the base model with a representative game version.
The first thing we did, was make a 'High Poly' asset for use in a baking workflow.
- Retained the crease edged by beveling them.
- Then create a smooth subdivision model.
This will allow us to have some natural creased edges and smooth topology to bake against.
- Exported as
Native_smooth_HIGH.fbx
- Exported the High Poly as a .obj (
character_mps\Assets\Mixamo\Ybot\.src\LODs\Native_smooth_fix_HIGH.obj) - Brought this into GitHub - wjakob/instant-meshes: Interactive field-aligned mesh generator
- Generated a Mid-poly model (quads) with a polygon flow that matched the topology of the High-poly model
- Then used Mesh Lab to crunch down a triangulated mesh at the target poly count (15k)
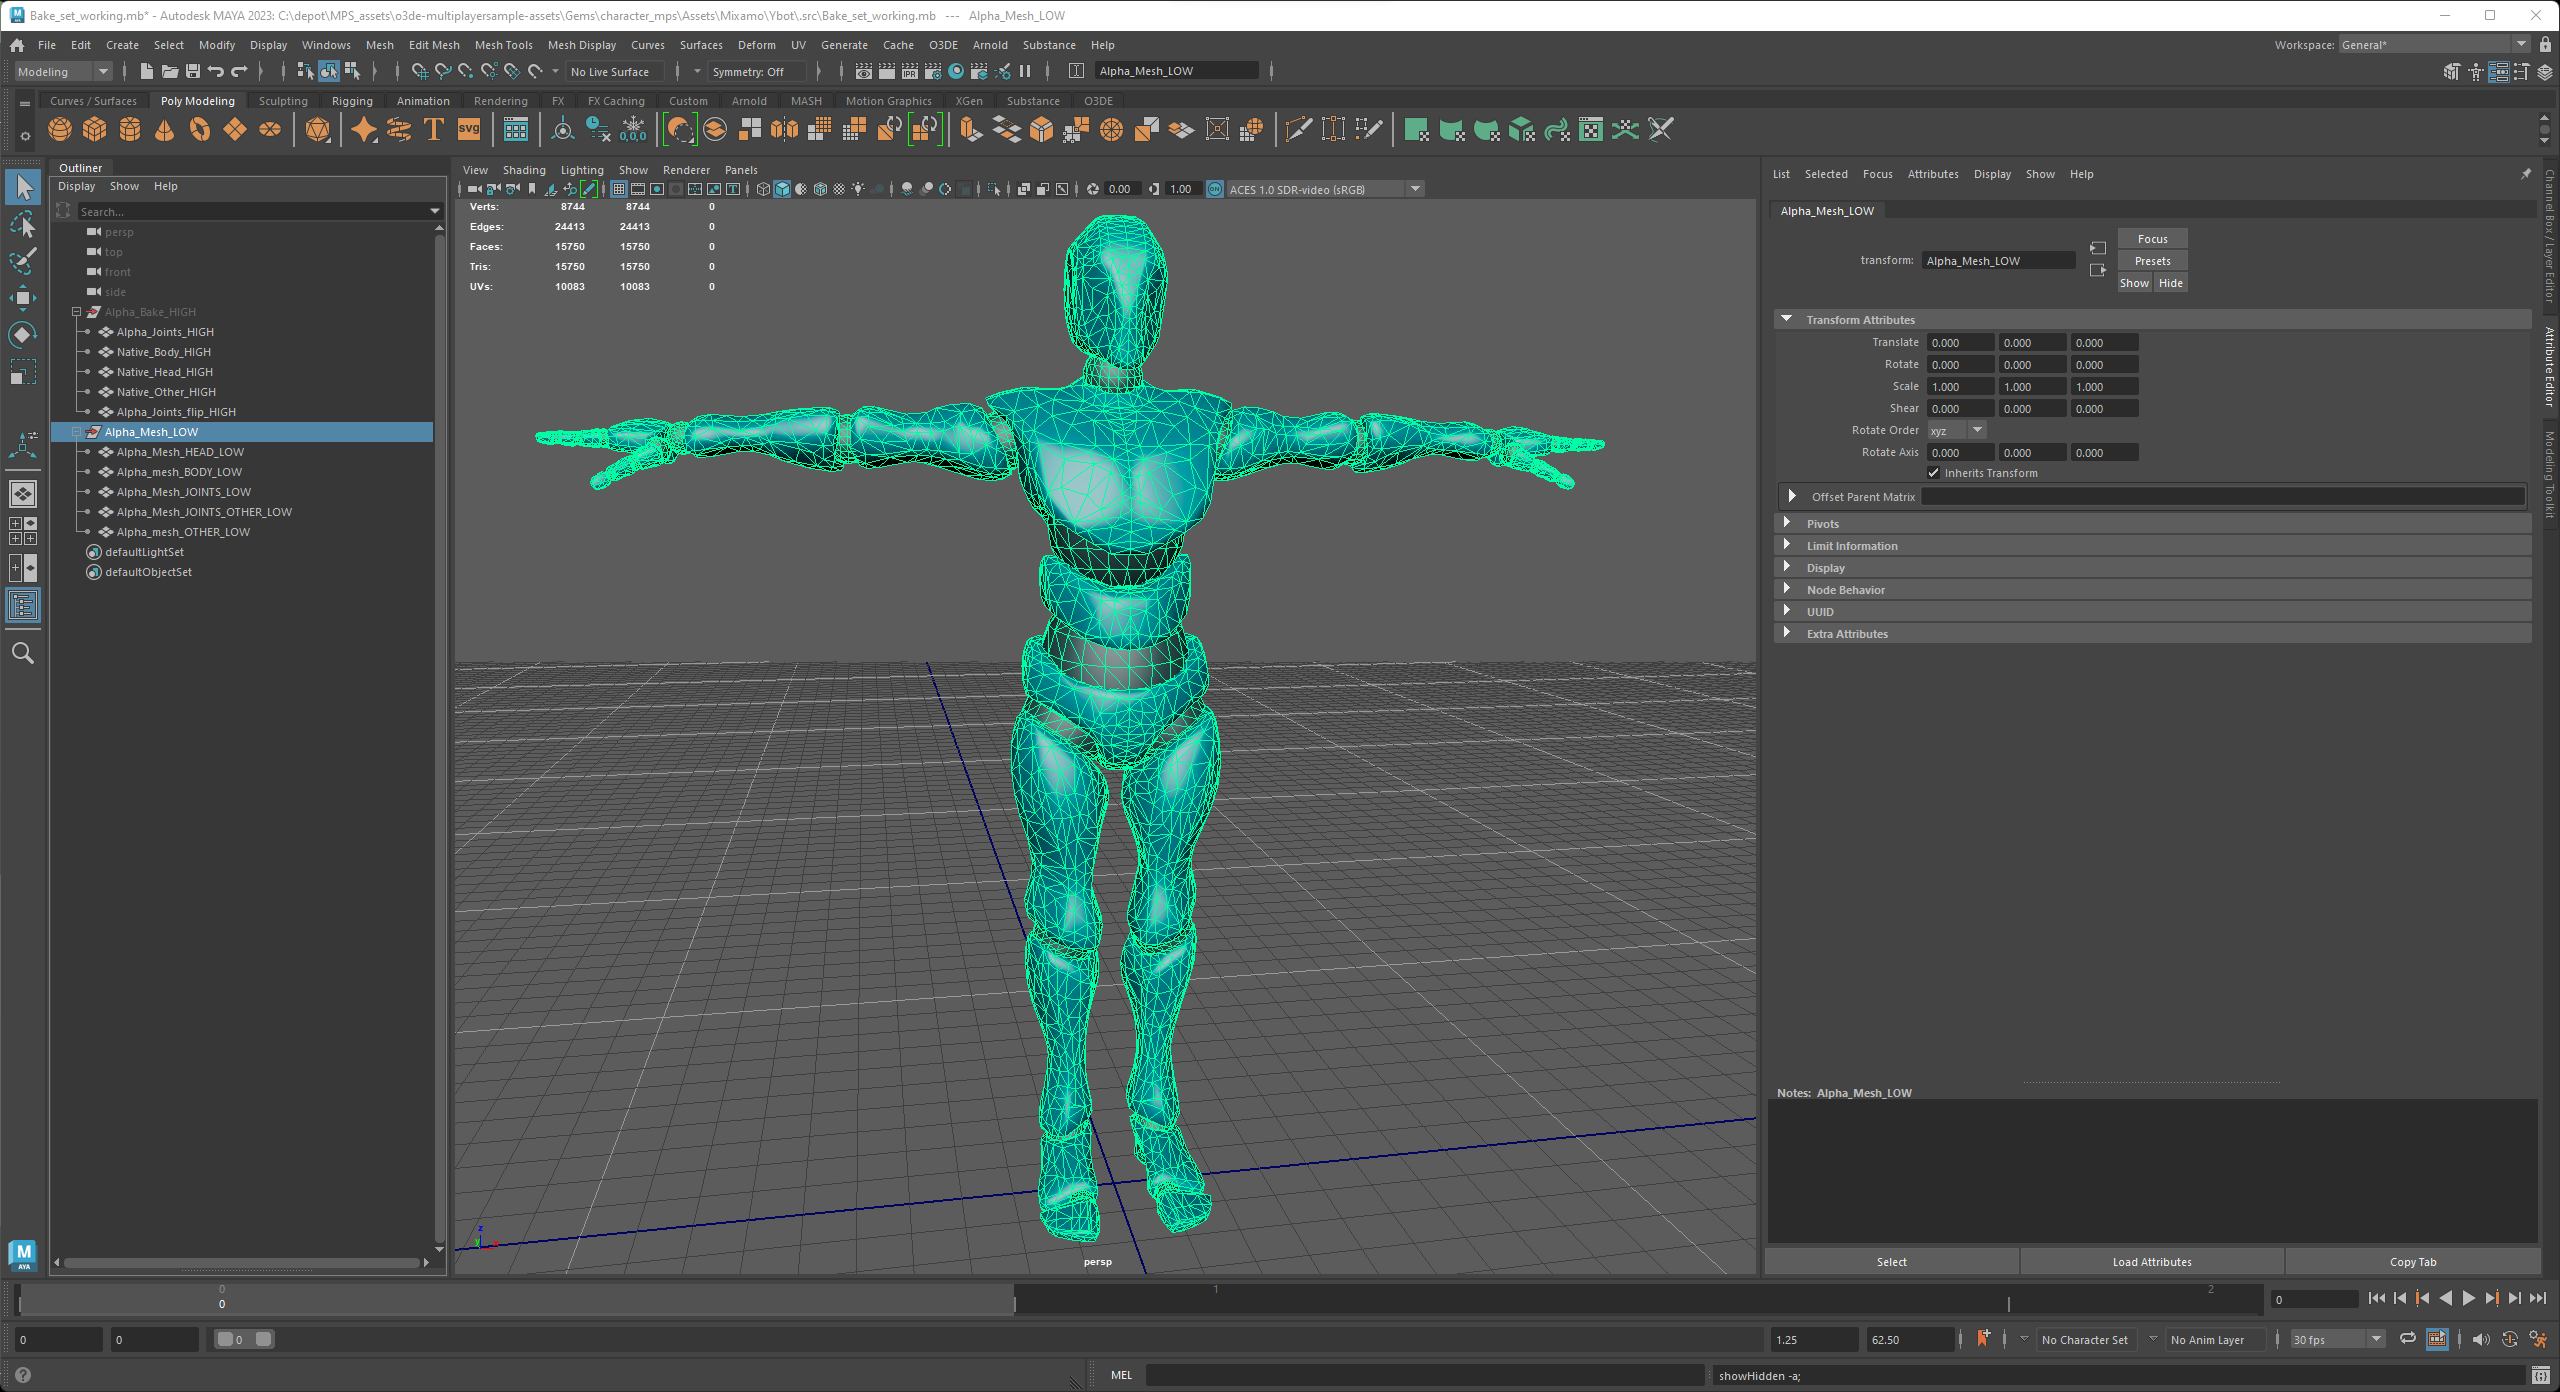
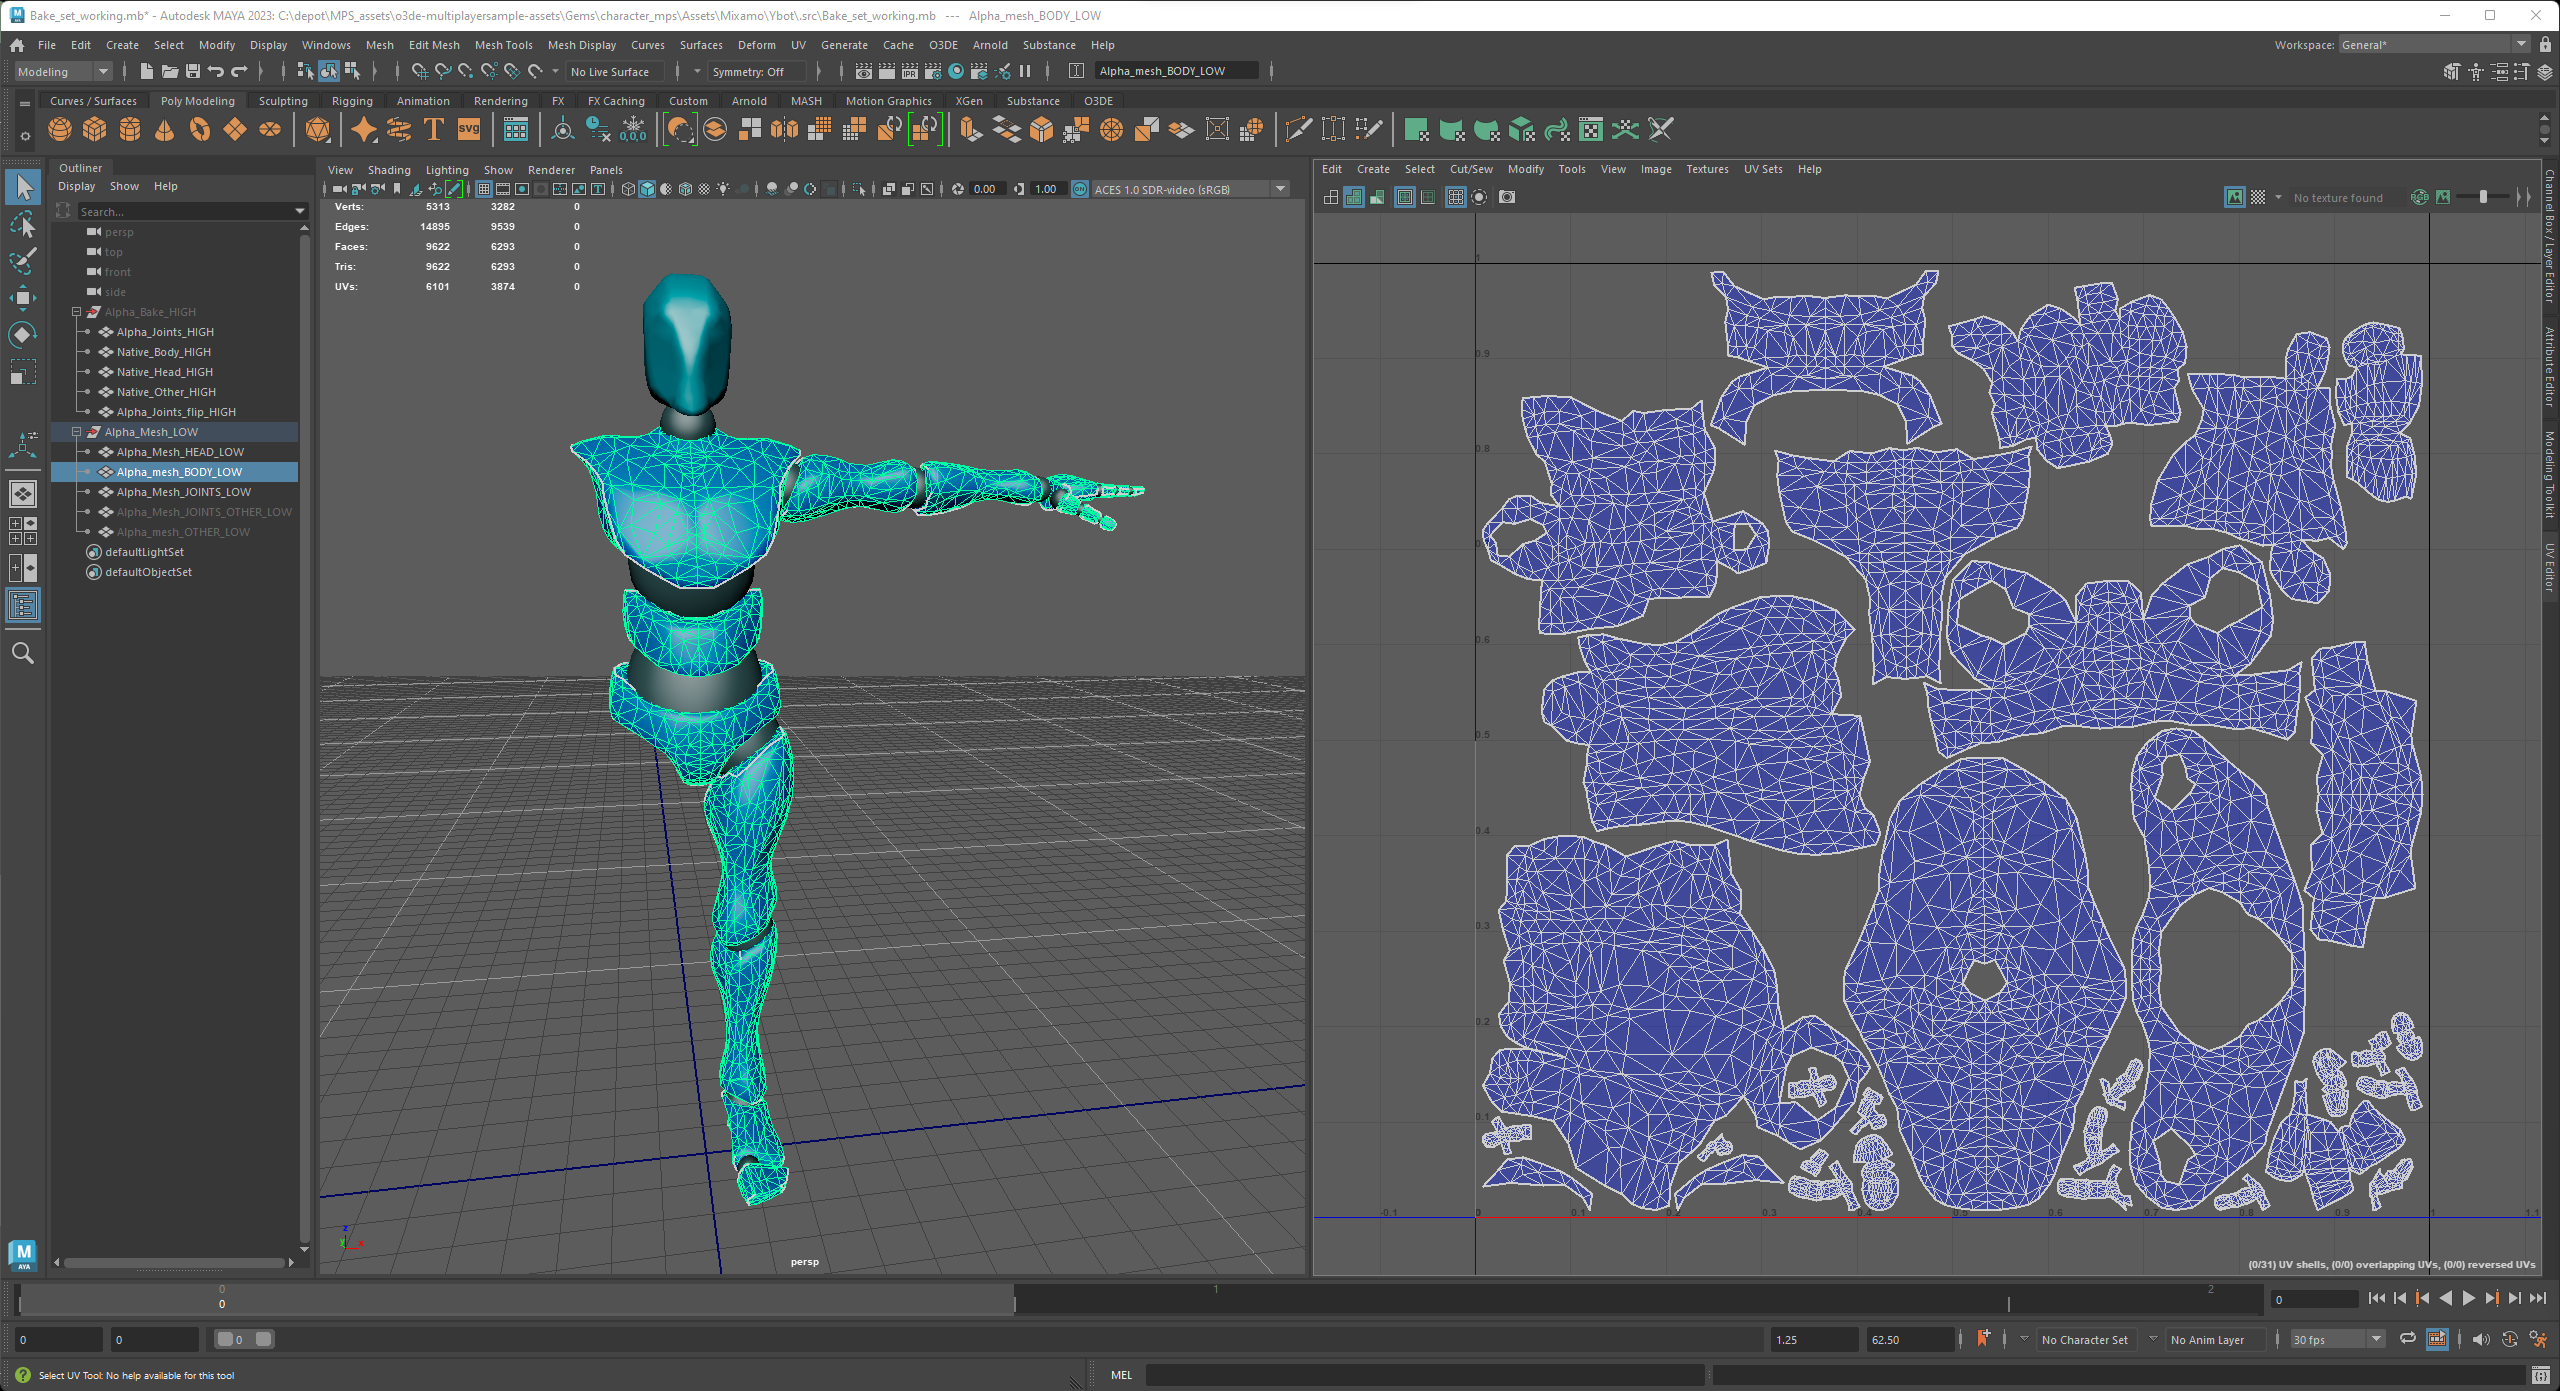
Here is what the model body and UVs look like:
- The head is split off
- The joints are as well (and they were separately hand optimized)
- The right arm and leg removed from the bake set (they can be duplicated and mirrored in final game model.)
Gems\character_mps\Assets\Mixamo\Ybot\.src\Native_mesh_working.mb- Export as
Alpha_mesh_LOW.fbx
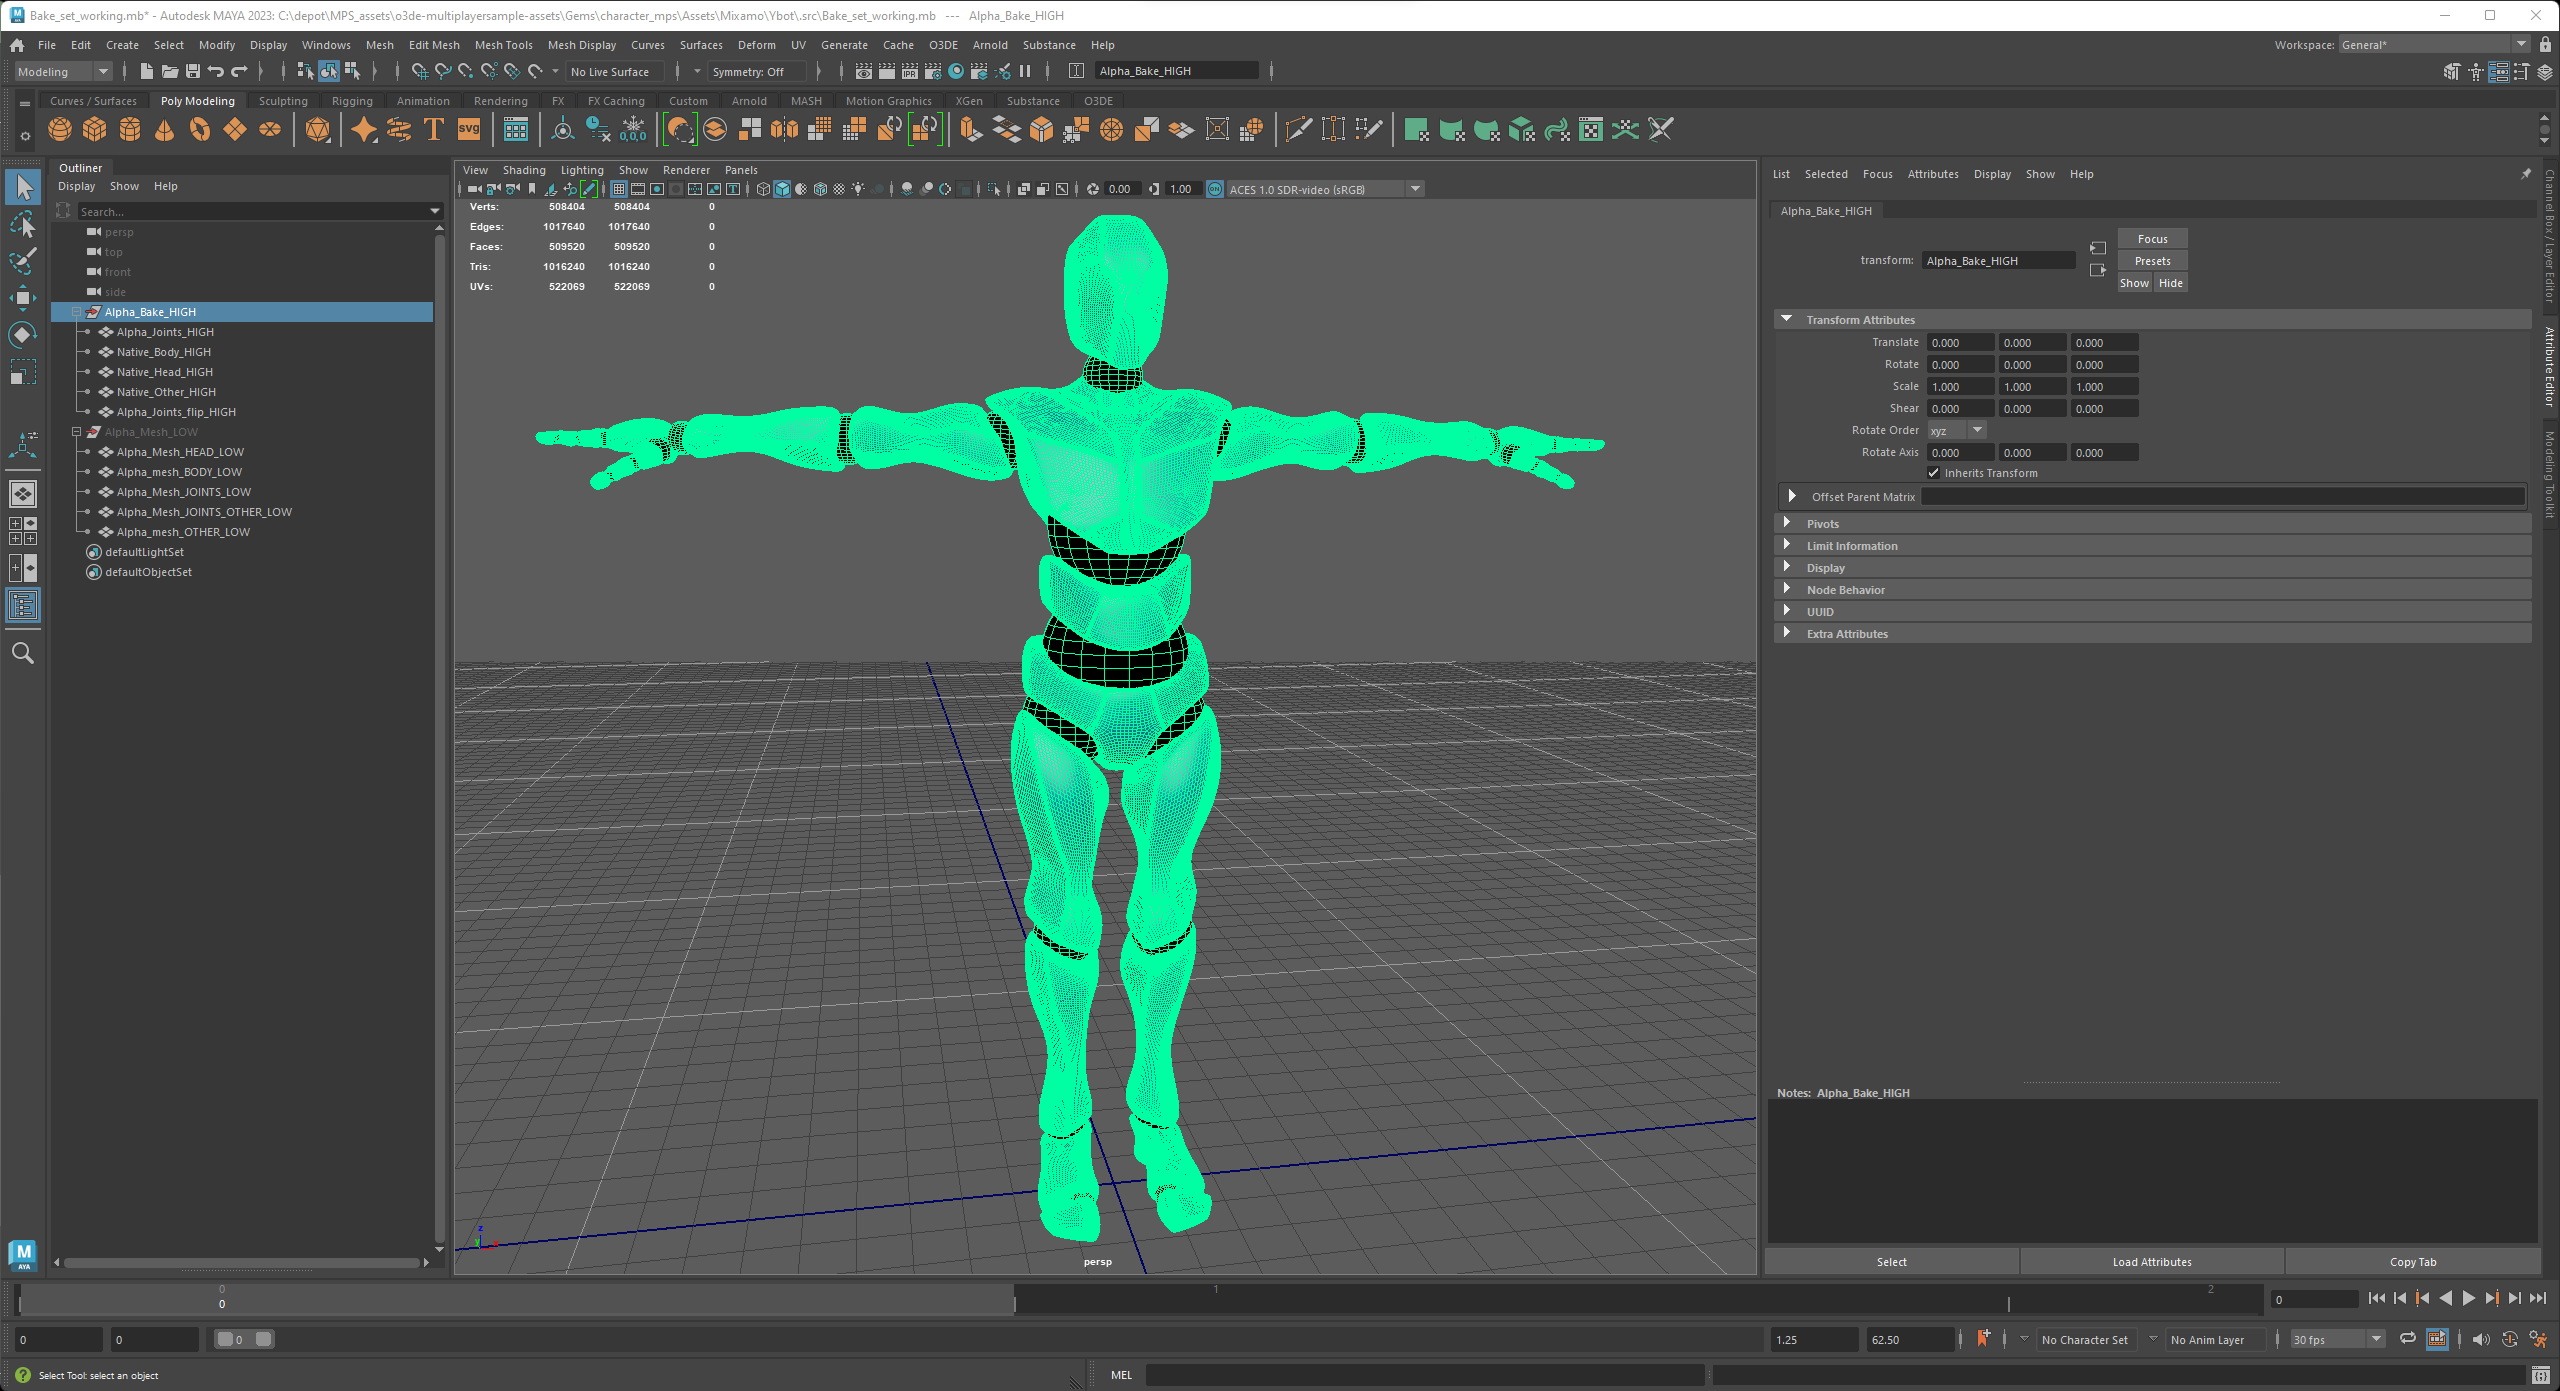
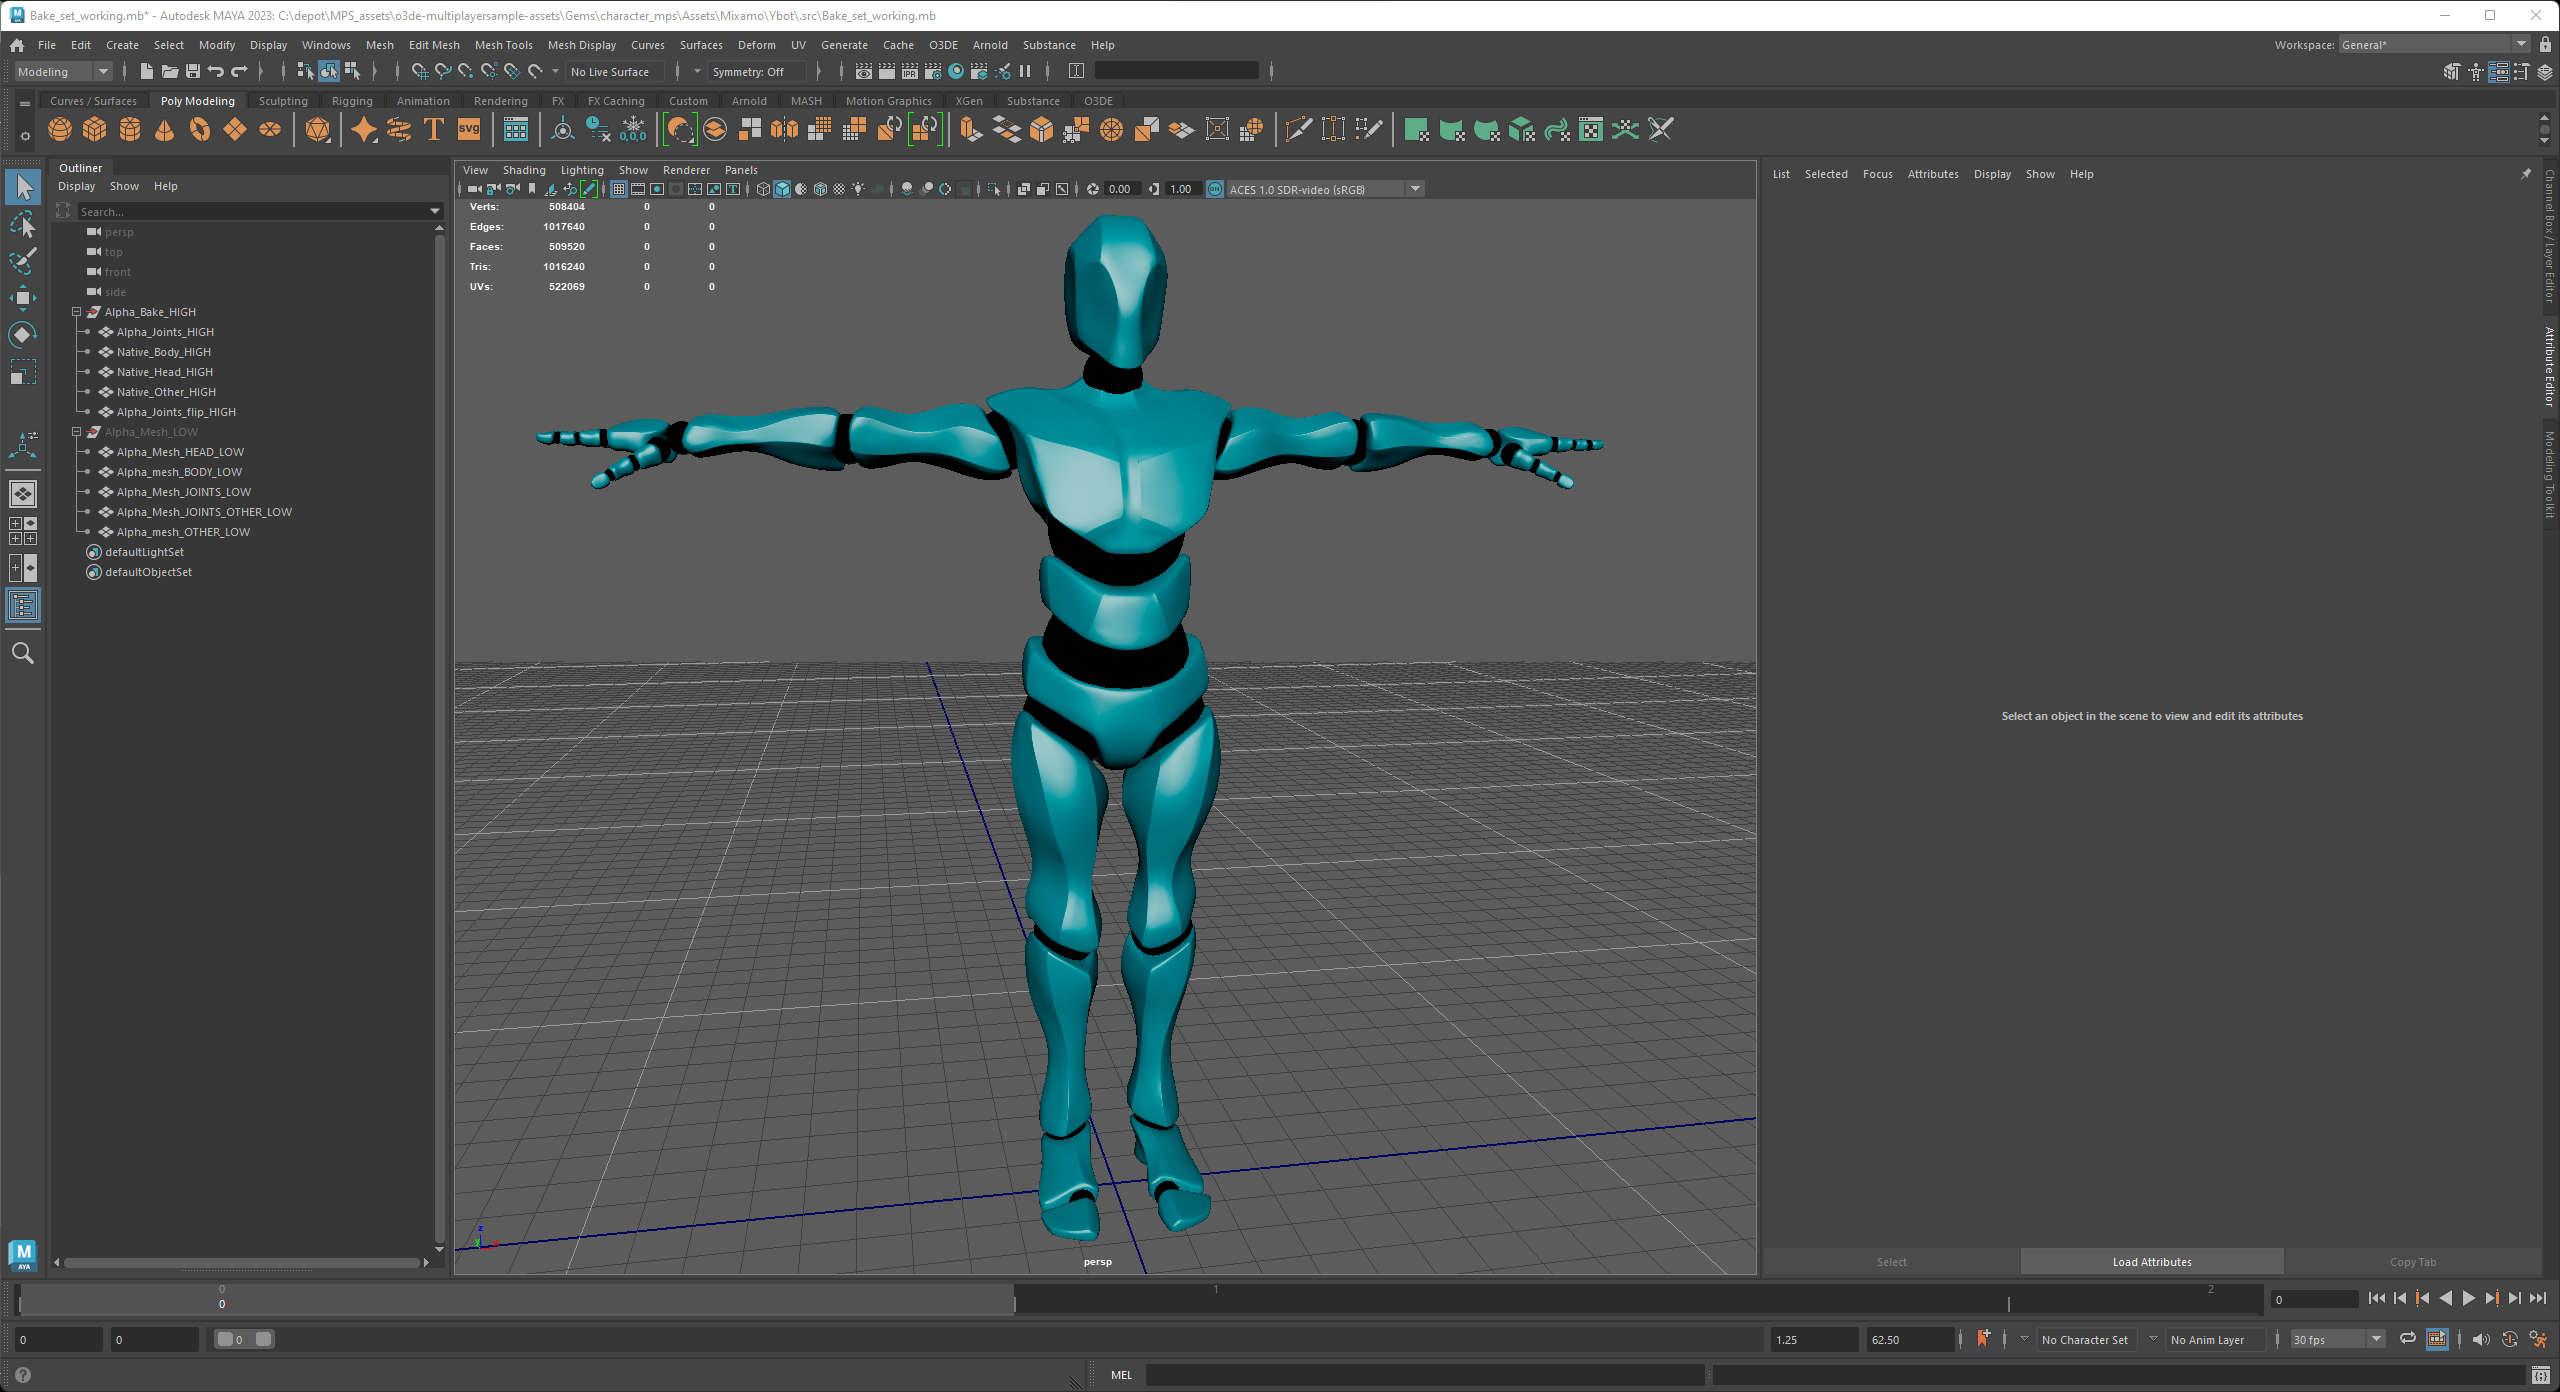
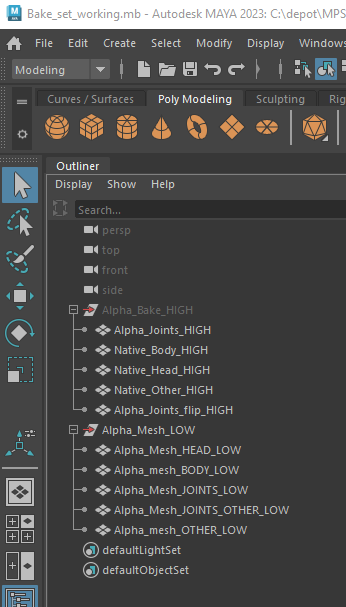
Then we create a bake set file:
Bake_set_working.mb- Import the
Native_smooth_HIGH.fbx - Import the
Alpha_mesh_LOW.fbx - Make adjustments to make sure the Head, Body and Joints are split out for High and Low.
- Make sure that we also have the mirrored arms/legs...
- By including these in the High, we can ensure that the baking of texture channels such as Ambient Occlusion (AO) can sample from the adjacent side of the model (capture shadowing.)
- By including them in the Low, we can preview the baked texture channels on both sides of the entire model.
- Export both HIGH and LOW together as:
Alpha_Bake_Set.fbx - Export just the LOW over:
Alpha_mesh_LOW.fbx(this is the final model version we will now be importing up a level into the actually game asset files)
Then we bring into Marmoset Toolbag 4 which we will be using as our bake tool:
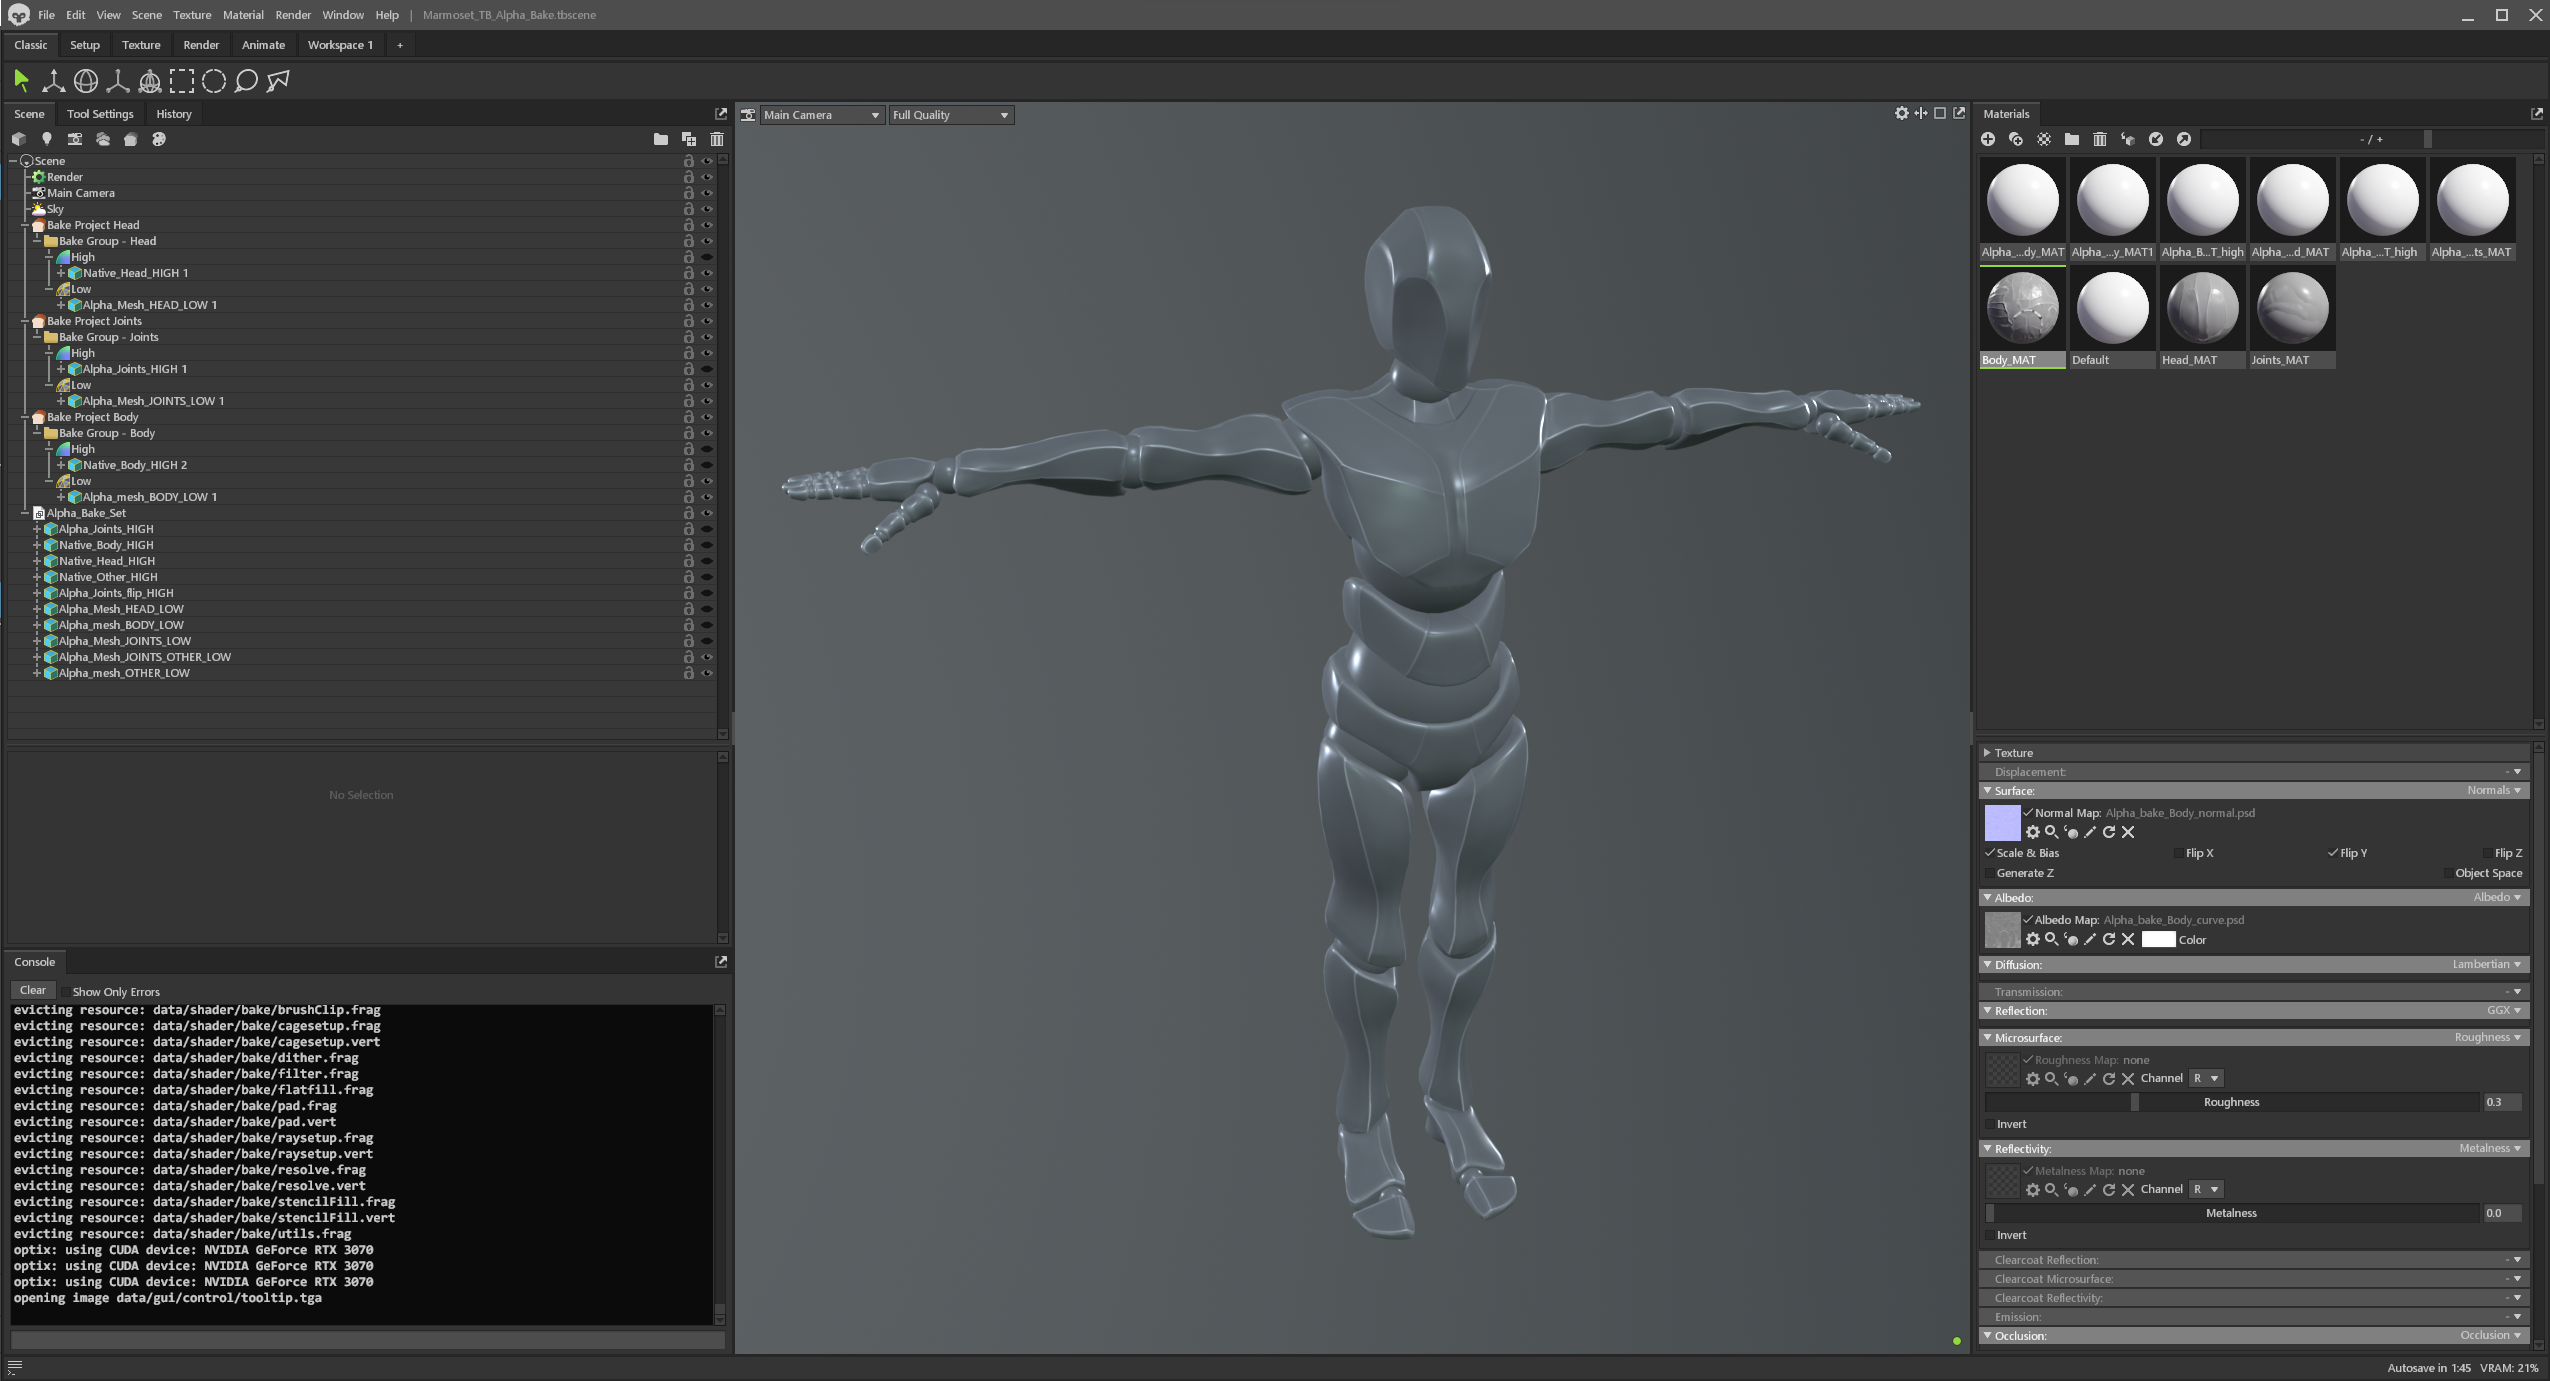
I set up one bake file, it has 3 bake projects, to just generate only the color and normal map texture channels for each piece of the model: head, body, joints.
See:
Marmoset_TB_Alpha_Bake.tbsceneI prefer to use .png files, and I generally bake everything at 16-bit (even though we will convert to 8-bit game textures later.)
Note: O3DE and the Atom renderer support the following (we need to make sure that bake projects are configured correctly):
Make sure to set up each bake project with an output path, the texture channels to generate, etc.
We perform each bake project (hit the bake button)
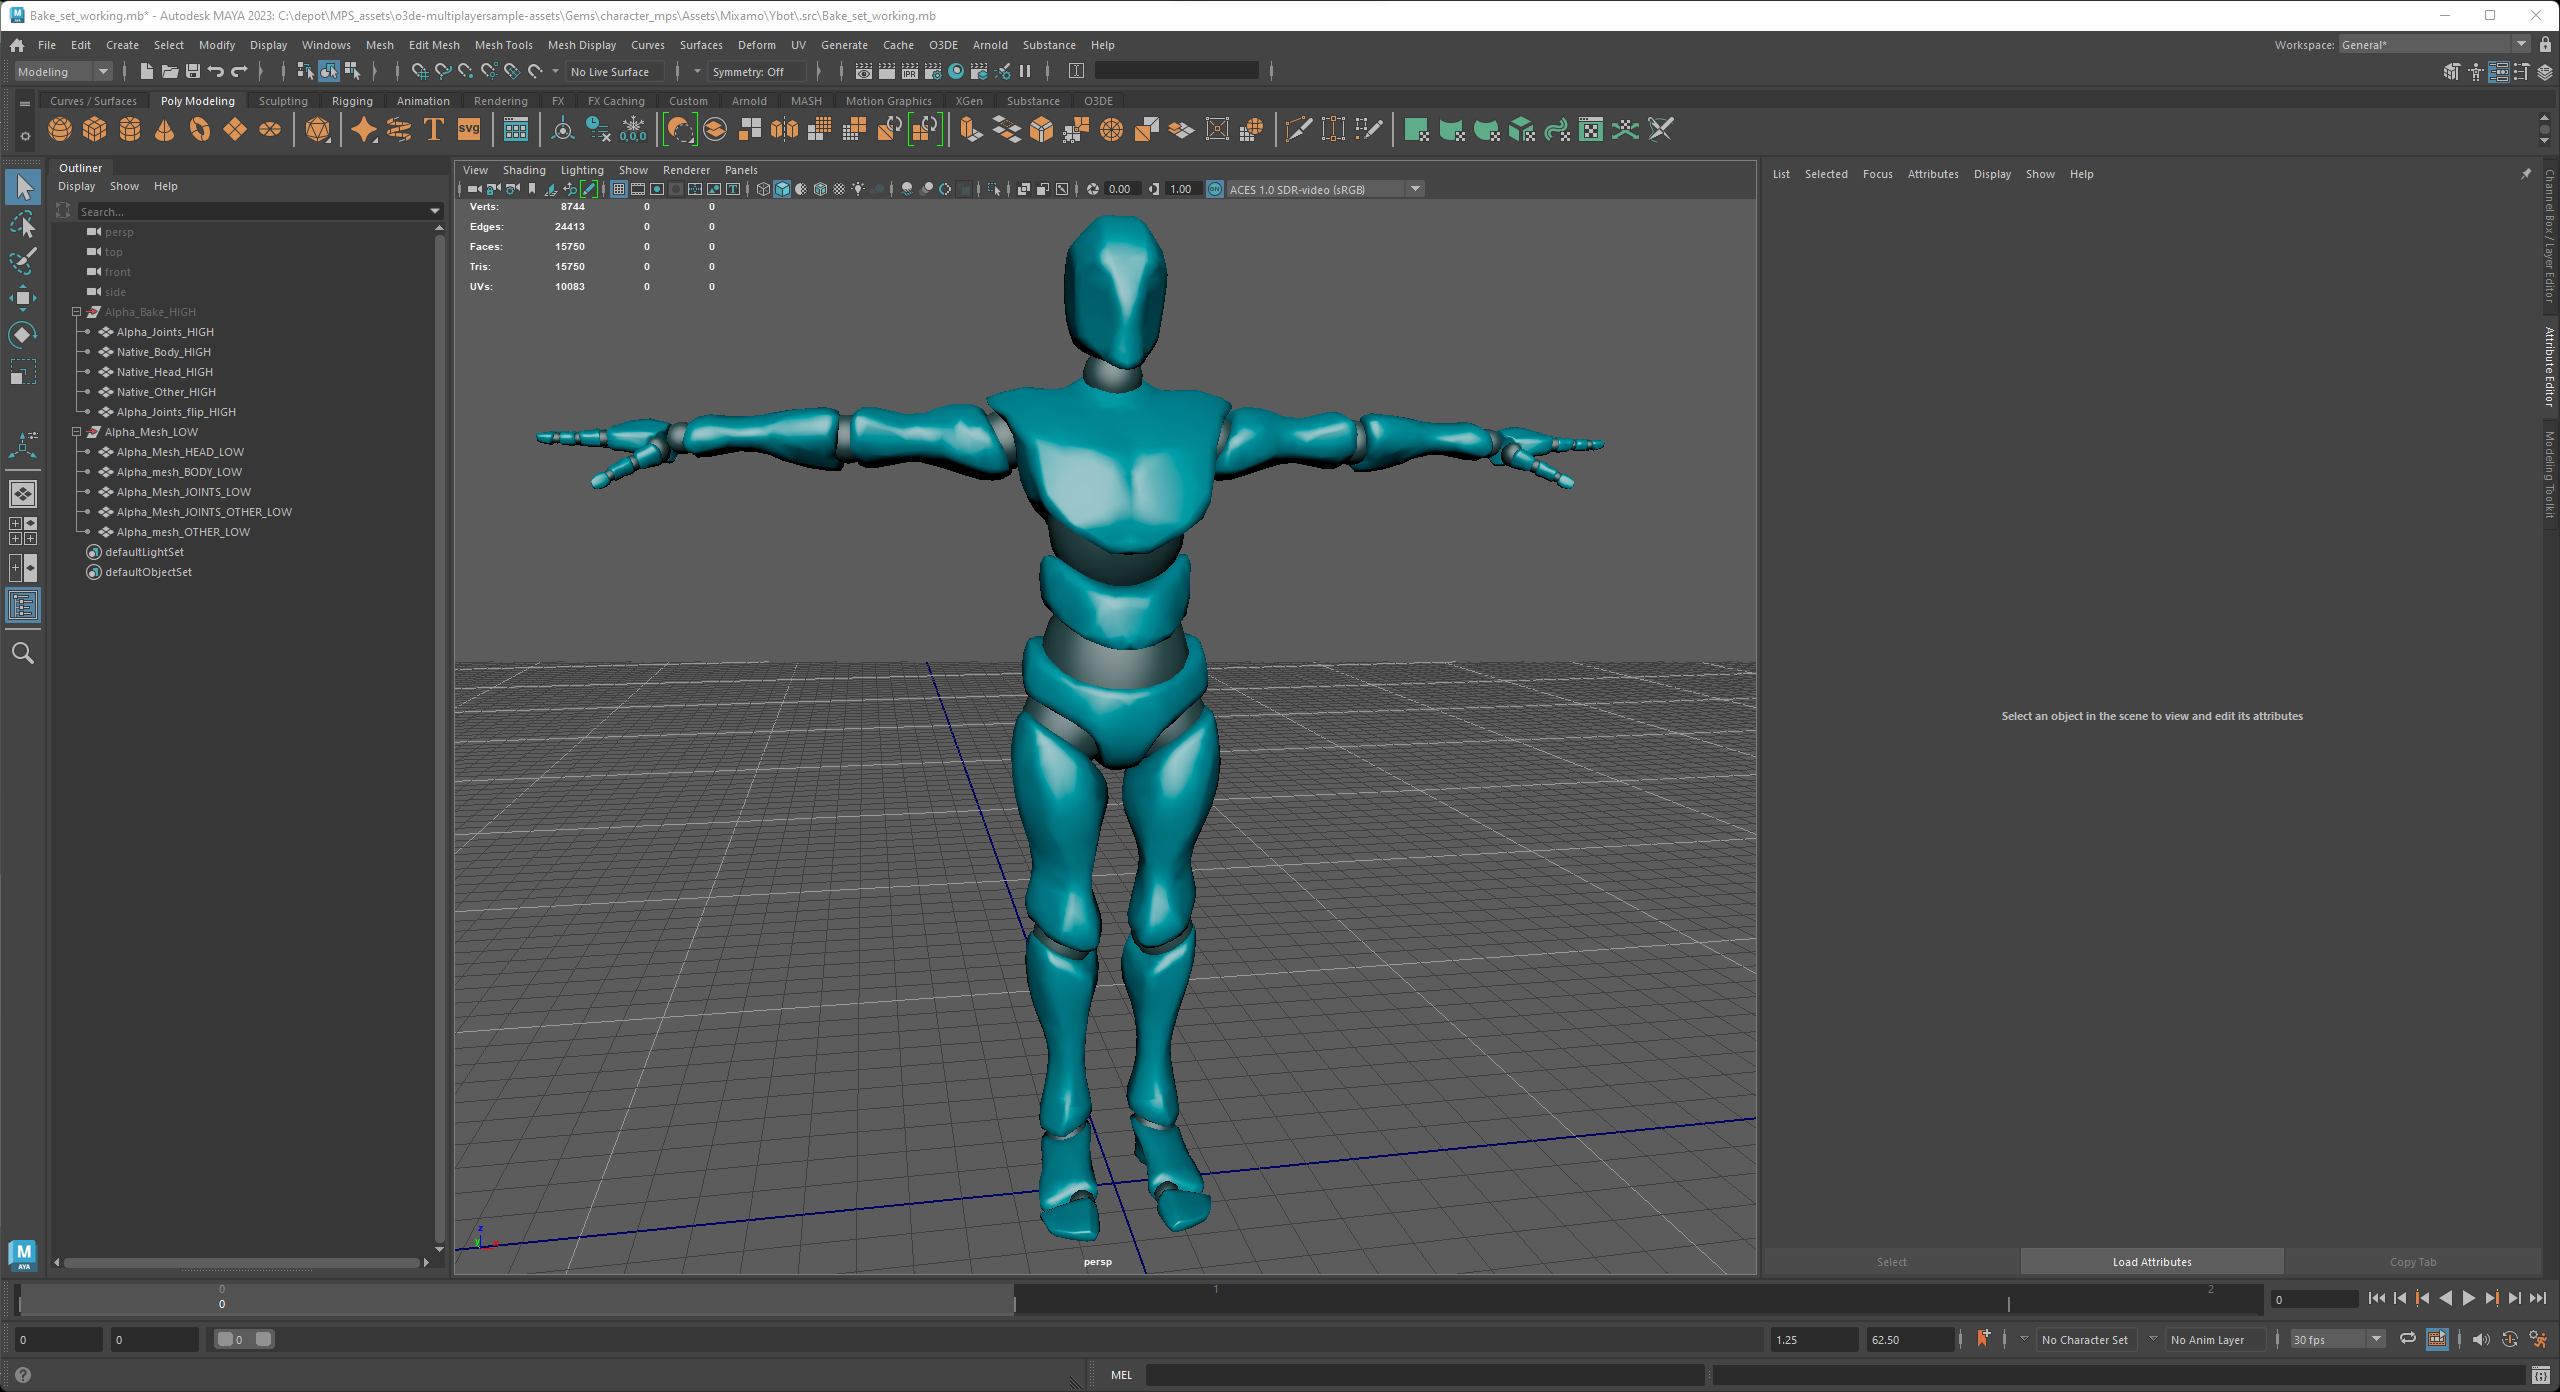
We load the baked texture channels into materials assigned to the low poly meshes, so we can preview the results (looks pretty clean, can't really tell at all we dropped from 55k to 15k. Woot!)
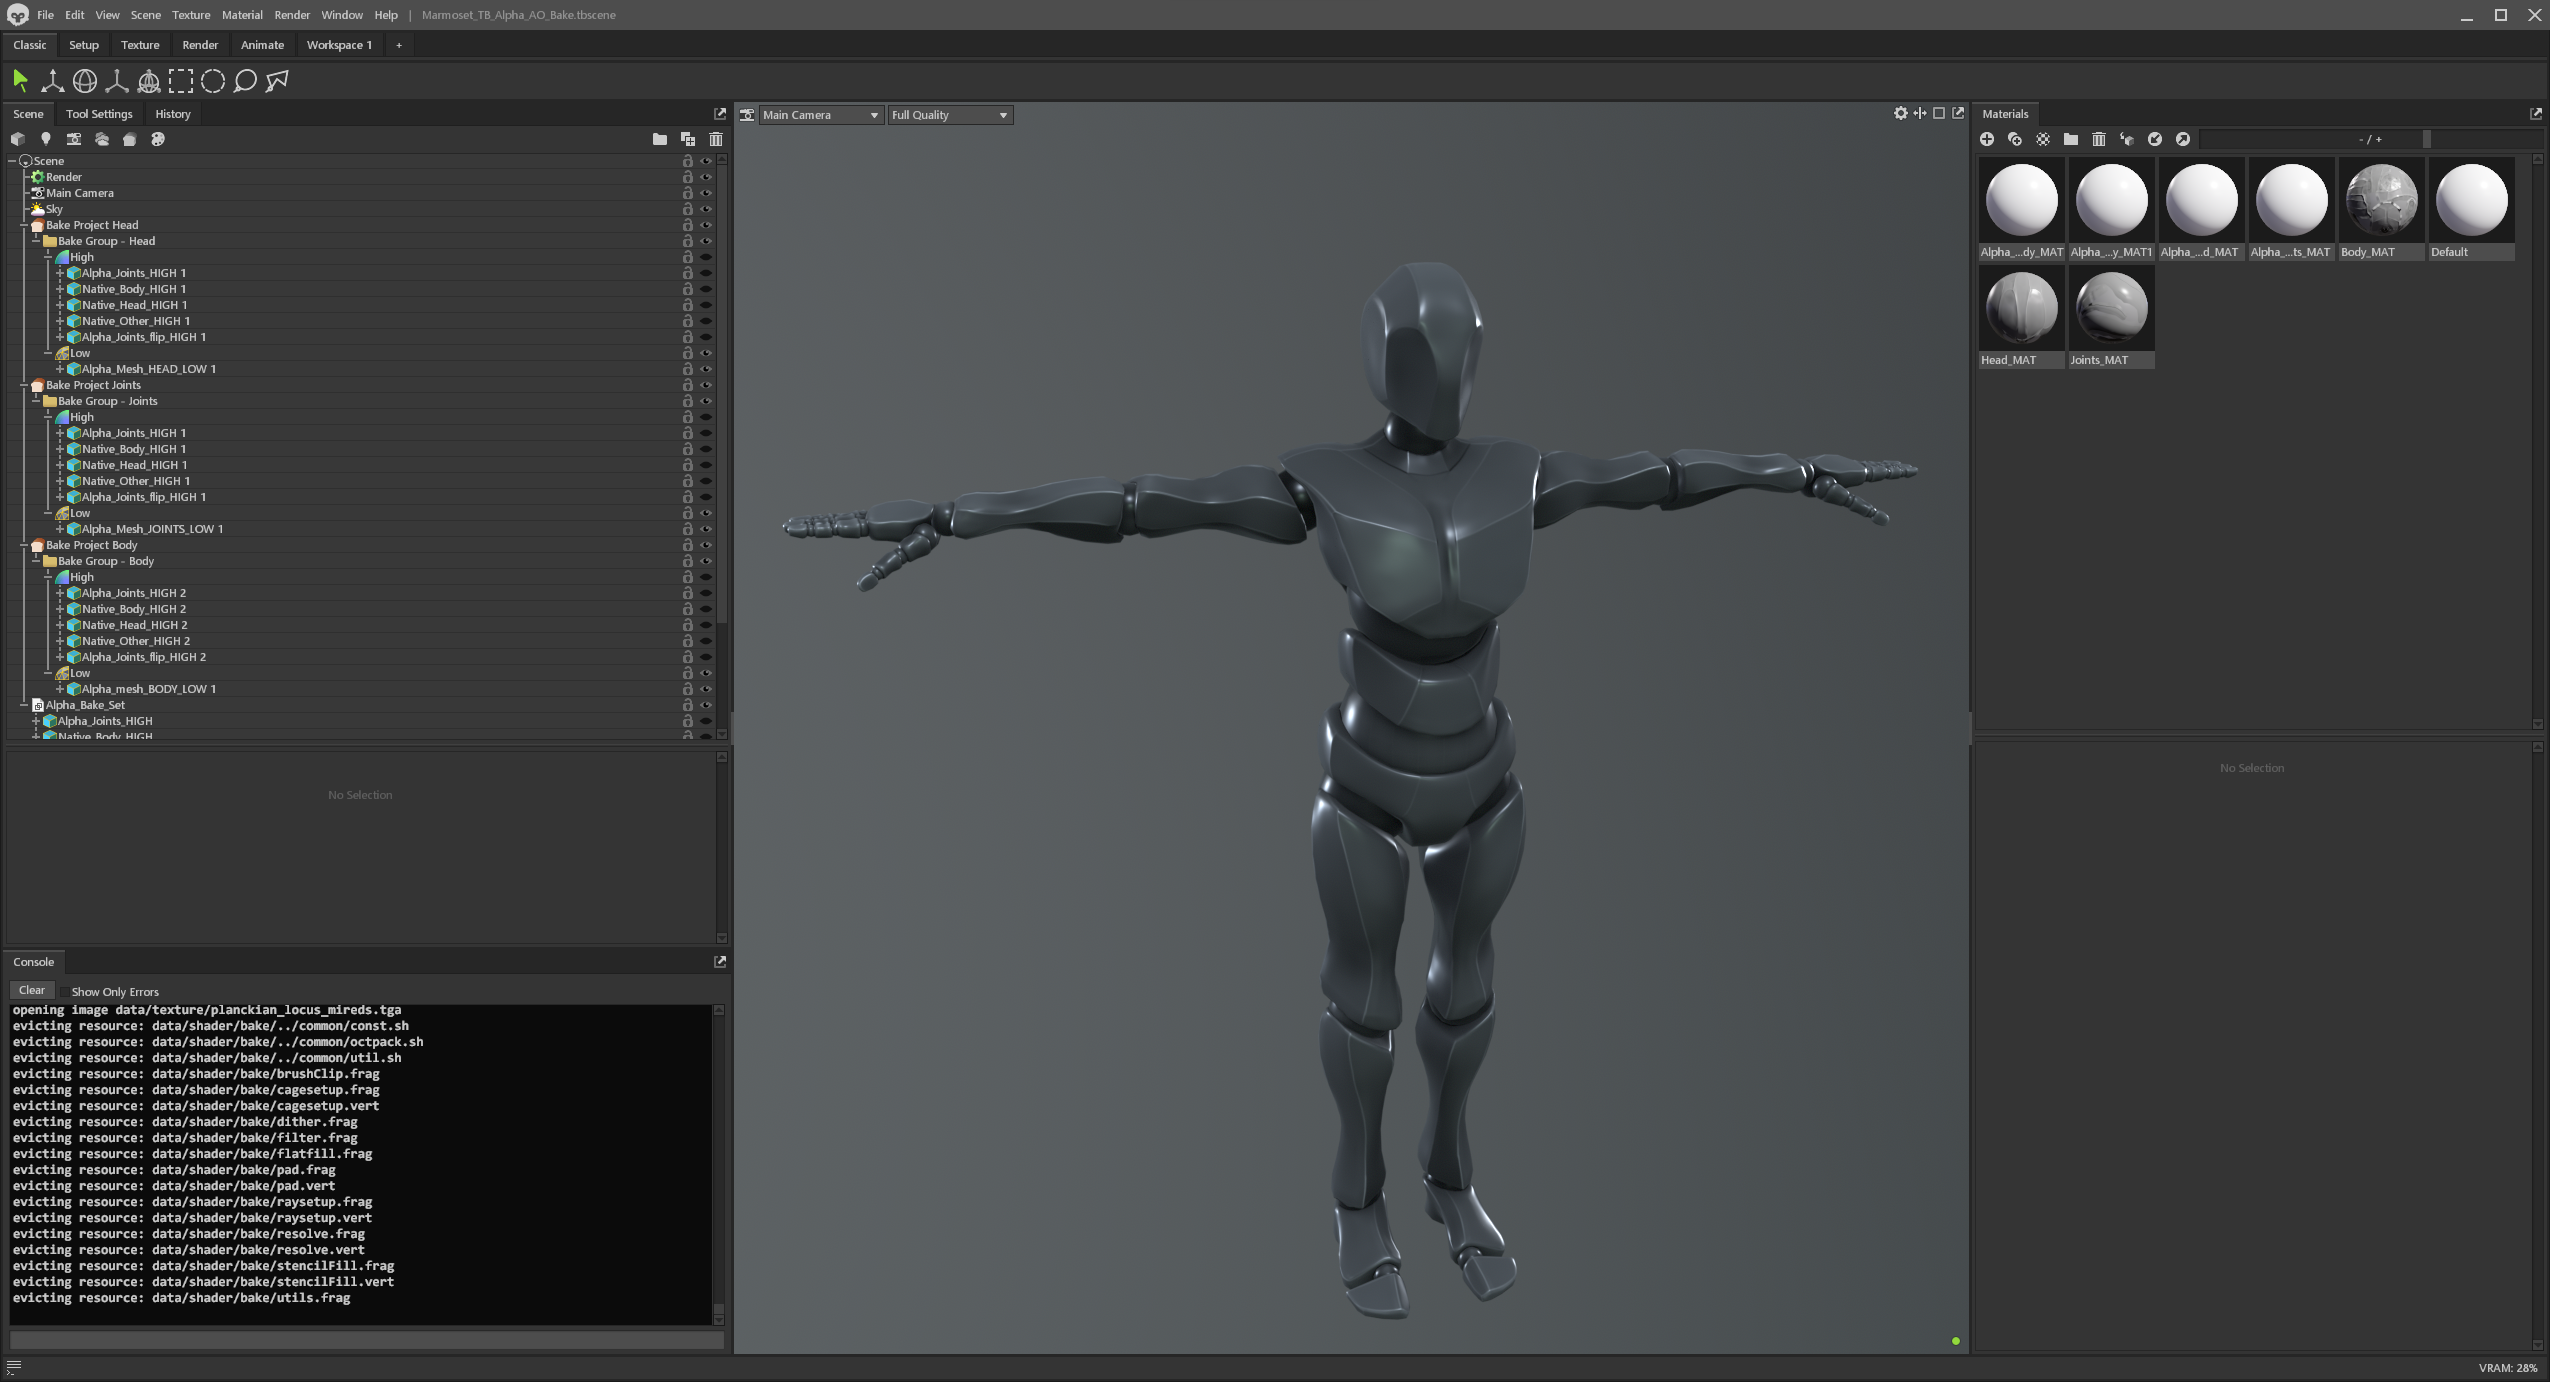
Then we make a second bake file, this time to capture other texture channels such as Ambient Occlusion (AO)
- The bake projects are set up differently, all of the High poly meshes are in each bake project
- This is so that we can sample all of the meshes of the assembly, when generating the AO where the model pieces meet.
- Our preview materials in this scene, load the color and normal from the previous bake and now load the AO
The data (models and textures) are all brought together in the final asset source file, which is a level up from /.src
Move/save the textures you want, from the Marmoset Toolbag bake output:
From:
Gems\character_mps\Assets\Mixamo\Ybot\.src\Texture_Bake_Channels\*To:
Gems\character_mps\Assets\Mixamo\Ybot\texturesI generally convert the file to 8-bit before saving the in the final location. Note: with 16-bit normals to 8-bit, this will introduce a subtle dithering of the normals, which is actually an enhancement to the final compressed normals - although some modern games are now using 16-bit compressed normals for better fidelity.
Use good O3DE texture naming conventions
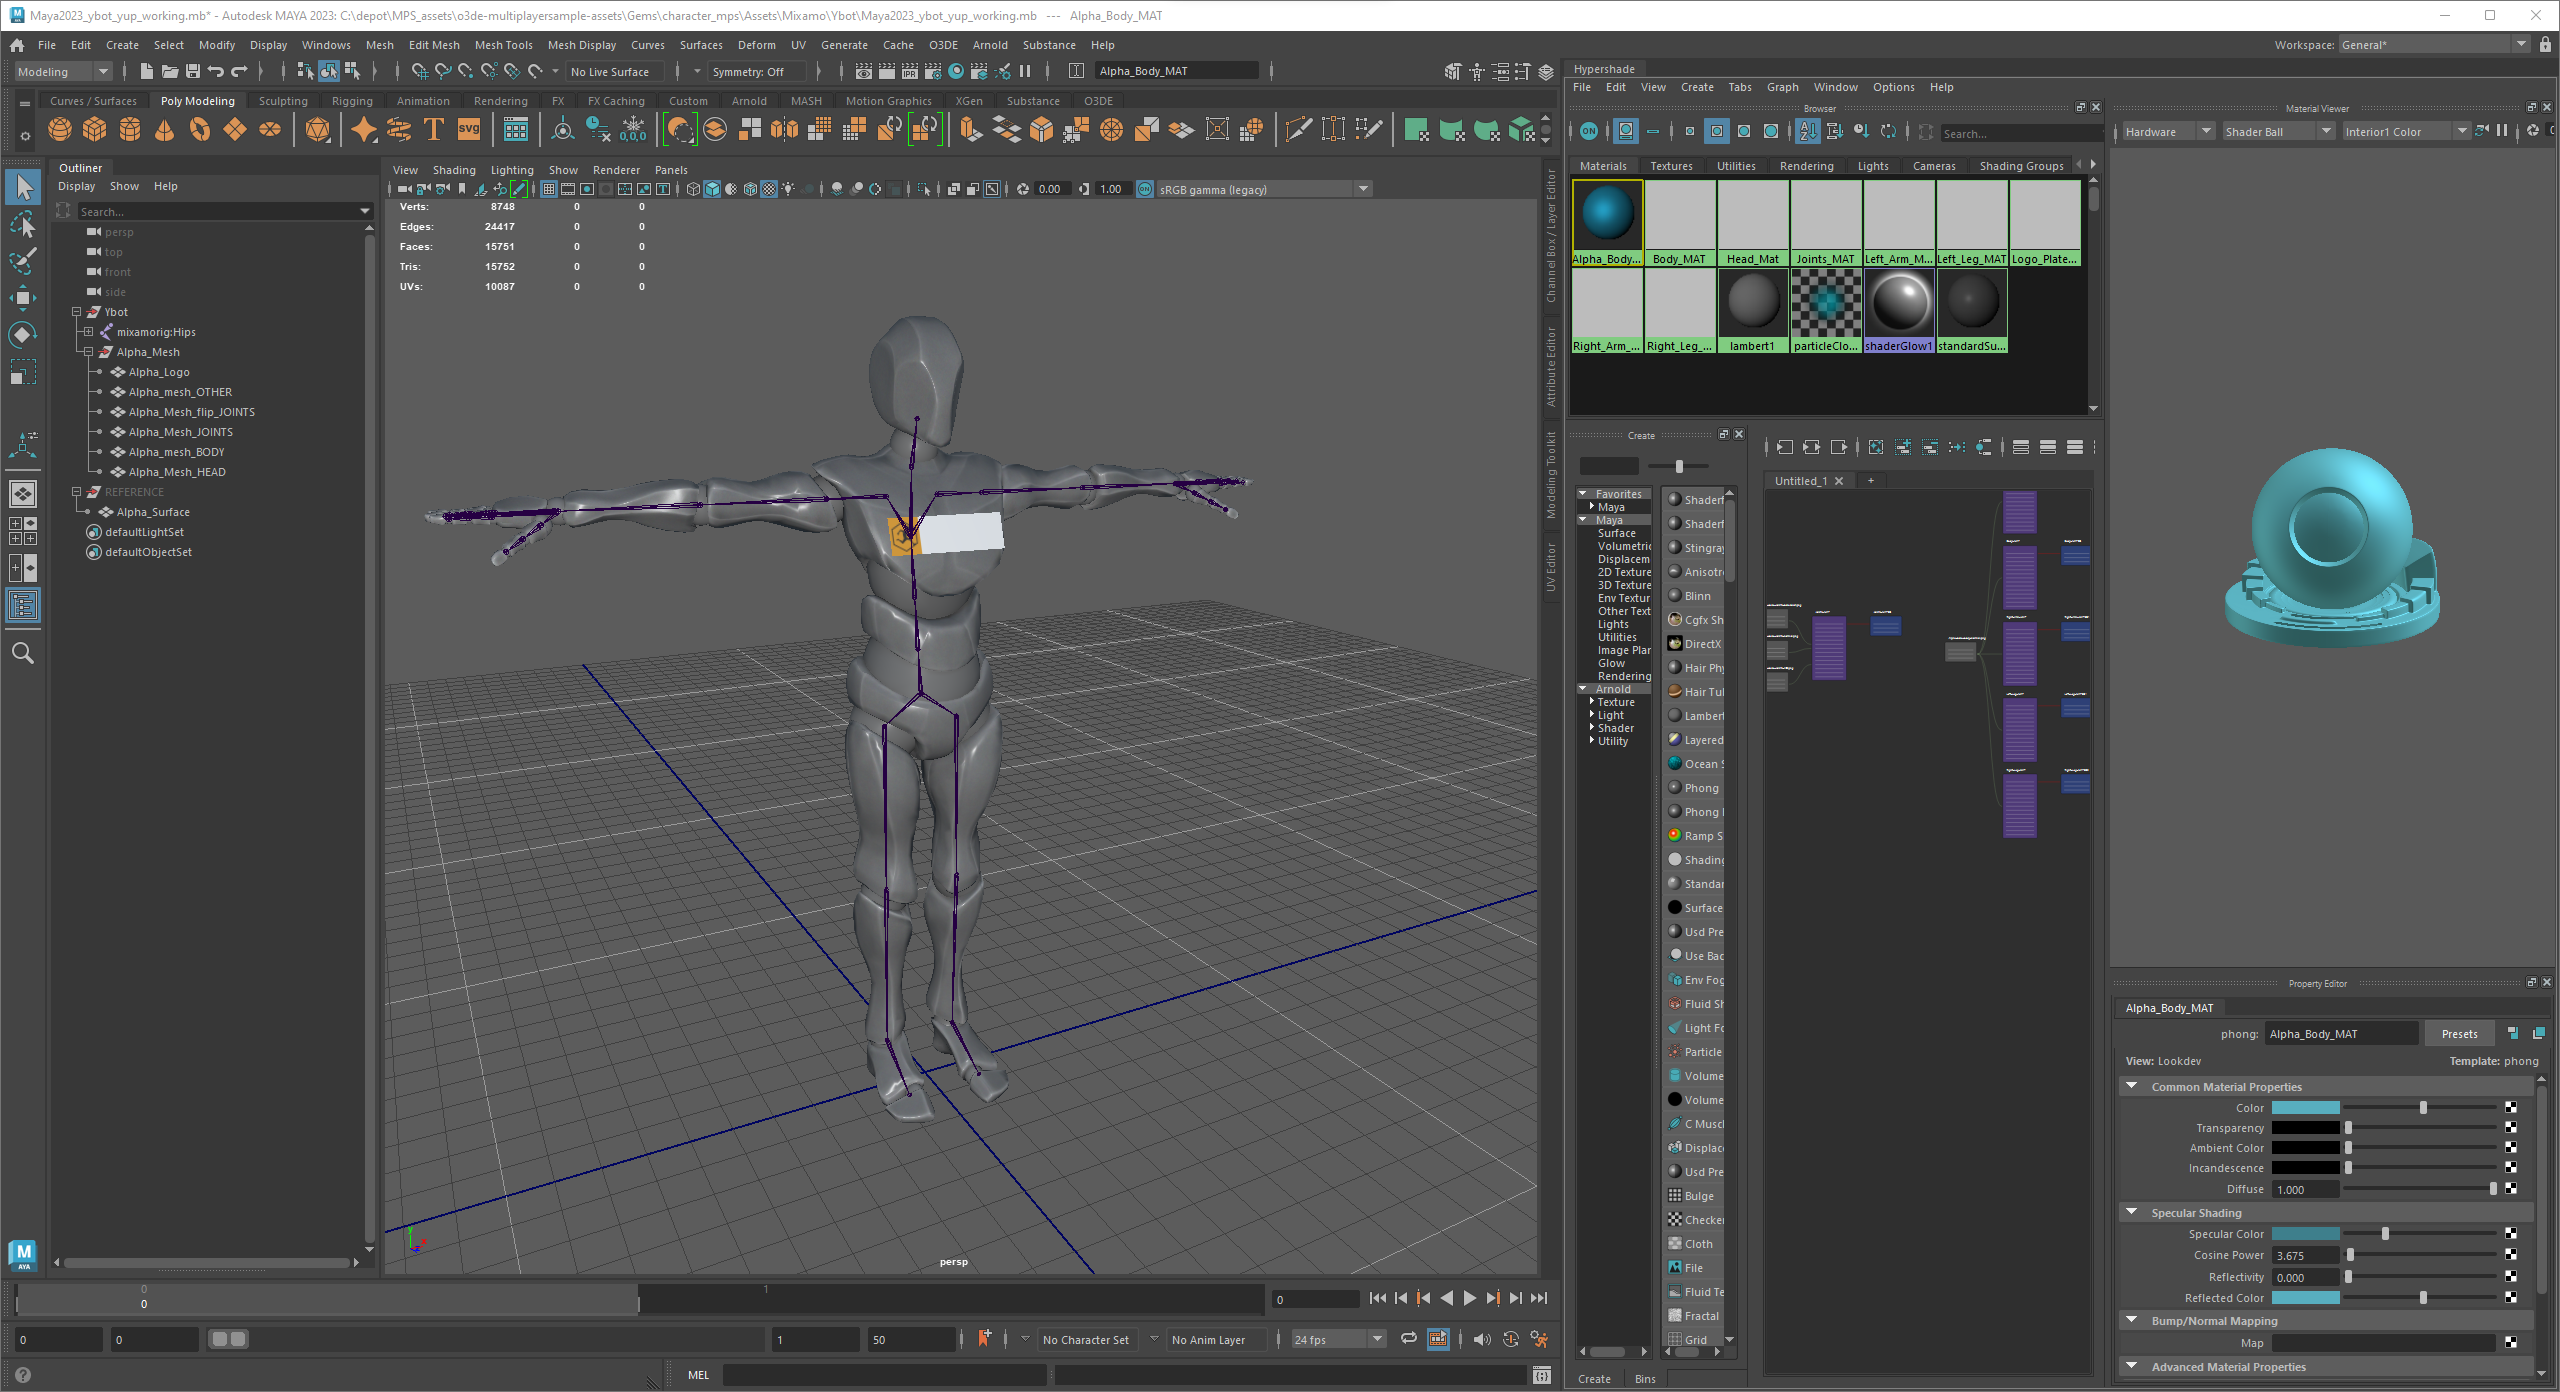
We made a Maya working file:
Maya2023_ybot_yup_working.mbFirst, imported the raw
./.src/native_mesh.fbxthis gives us the original skinned model, and the mixamorig (note: the rig is in the namespace, mixamorig:hips)We unparent and pop the original model out, and place under a node called
REFERENCEso we can refer back to it, pull from it to copy skin weights, etc.Then we put the skeleton rig under a root node called
YBotthis will be the root node we export as the asset.Then we import our new base model:
./src/Alpha_mesh_LOW.fbxWe place that under the root
YBotnode.We set up several materials.
Notes: the way source material conventions with the O3DE material component, is:
"< model.fbx name > _ < material node name > (we will come back to this later, but this avoids collisions with asset names.)
In the DCC source file, we name the material nodes descriptively based on what they are assigned to: head_MAT, body_MAT, etc.
We separated the assignments of materials for the right and left arms and legs, so that we could increase character variants by assigning mix-and-match material sets to the material slots later.
we used StingrayPBS materials, as these are supported for portable conversion; we can load texture maps into these, and those texture bindings will be converted into the atom game materials. (more on this later also.)
Note: Maya does not use standard MikkT tangent space, so your normal's are not likely too look correct :( don't worry about it.
This can now be exported so we can test the model and materials in the game engine, export as:
ybot_mesh_test.fbx
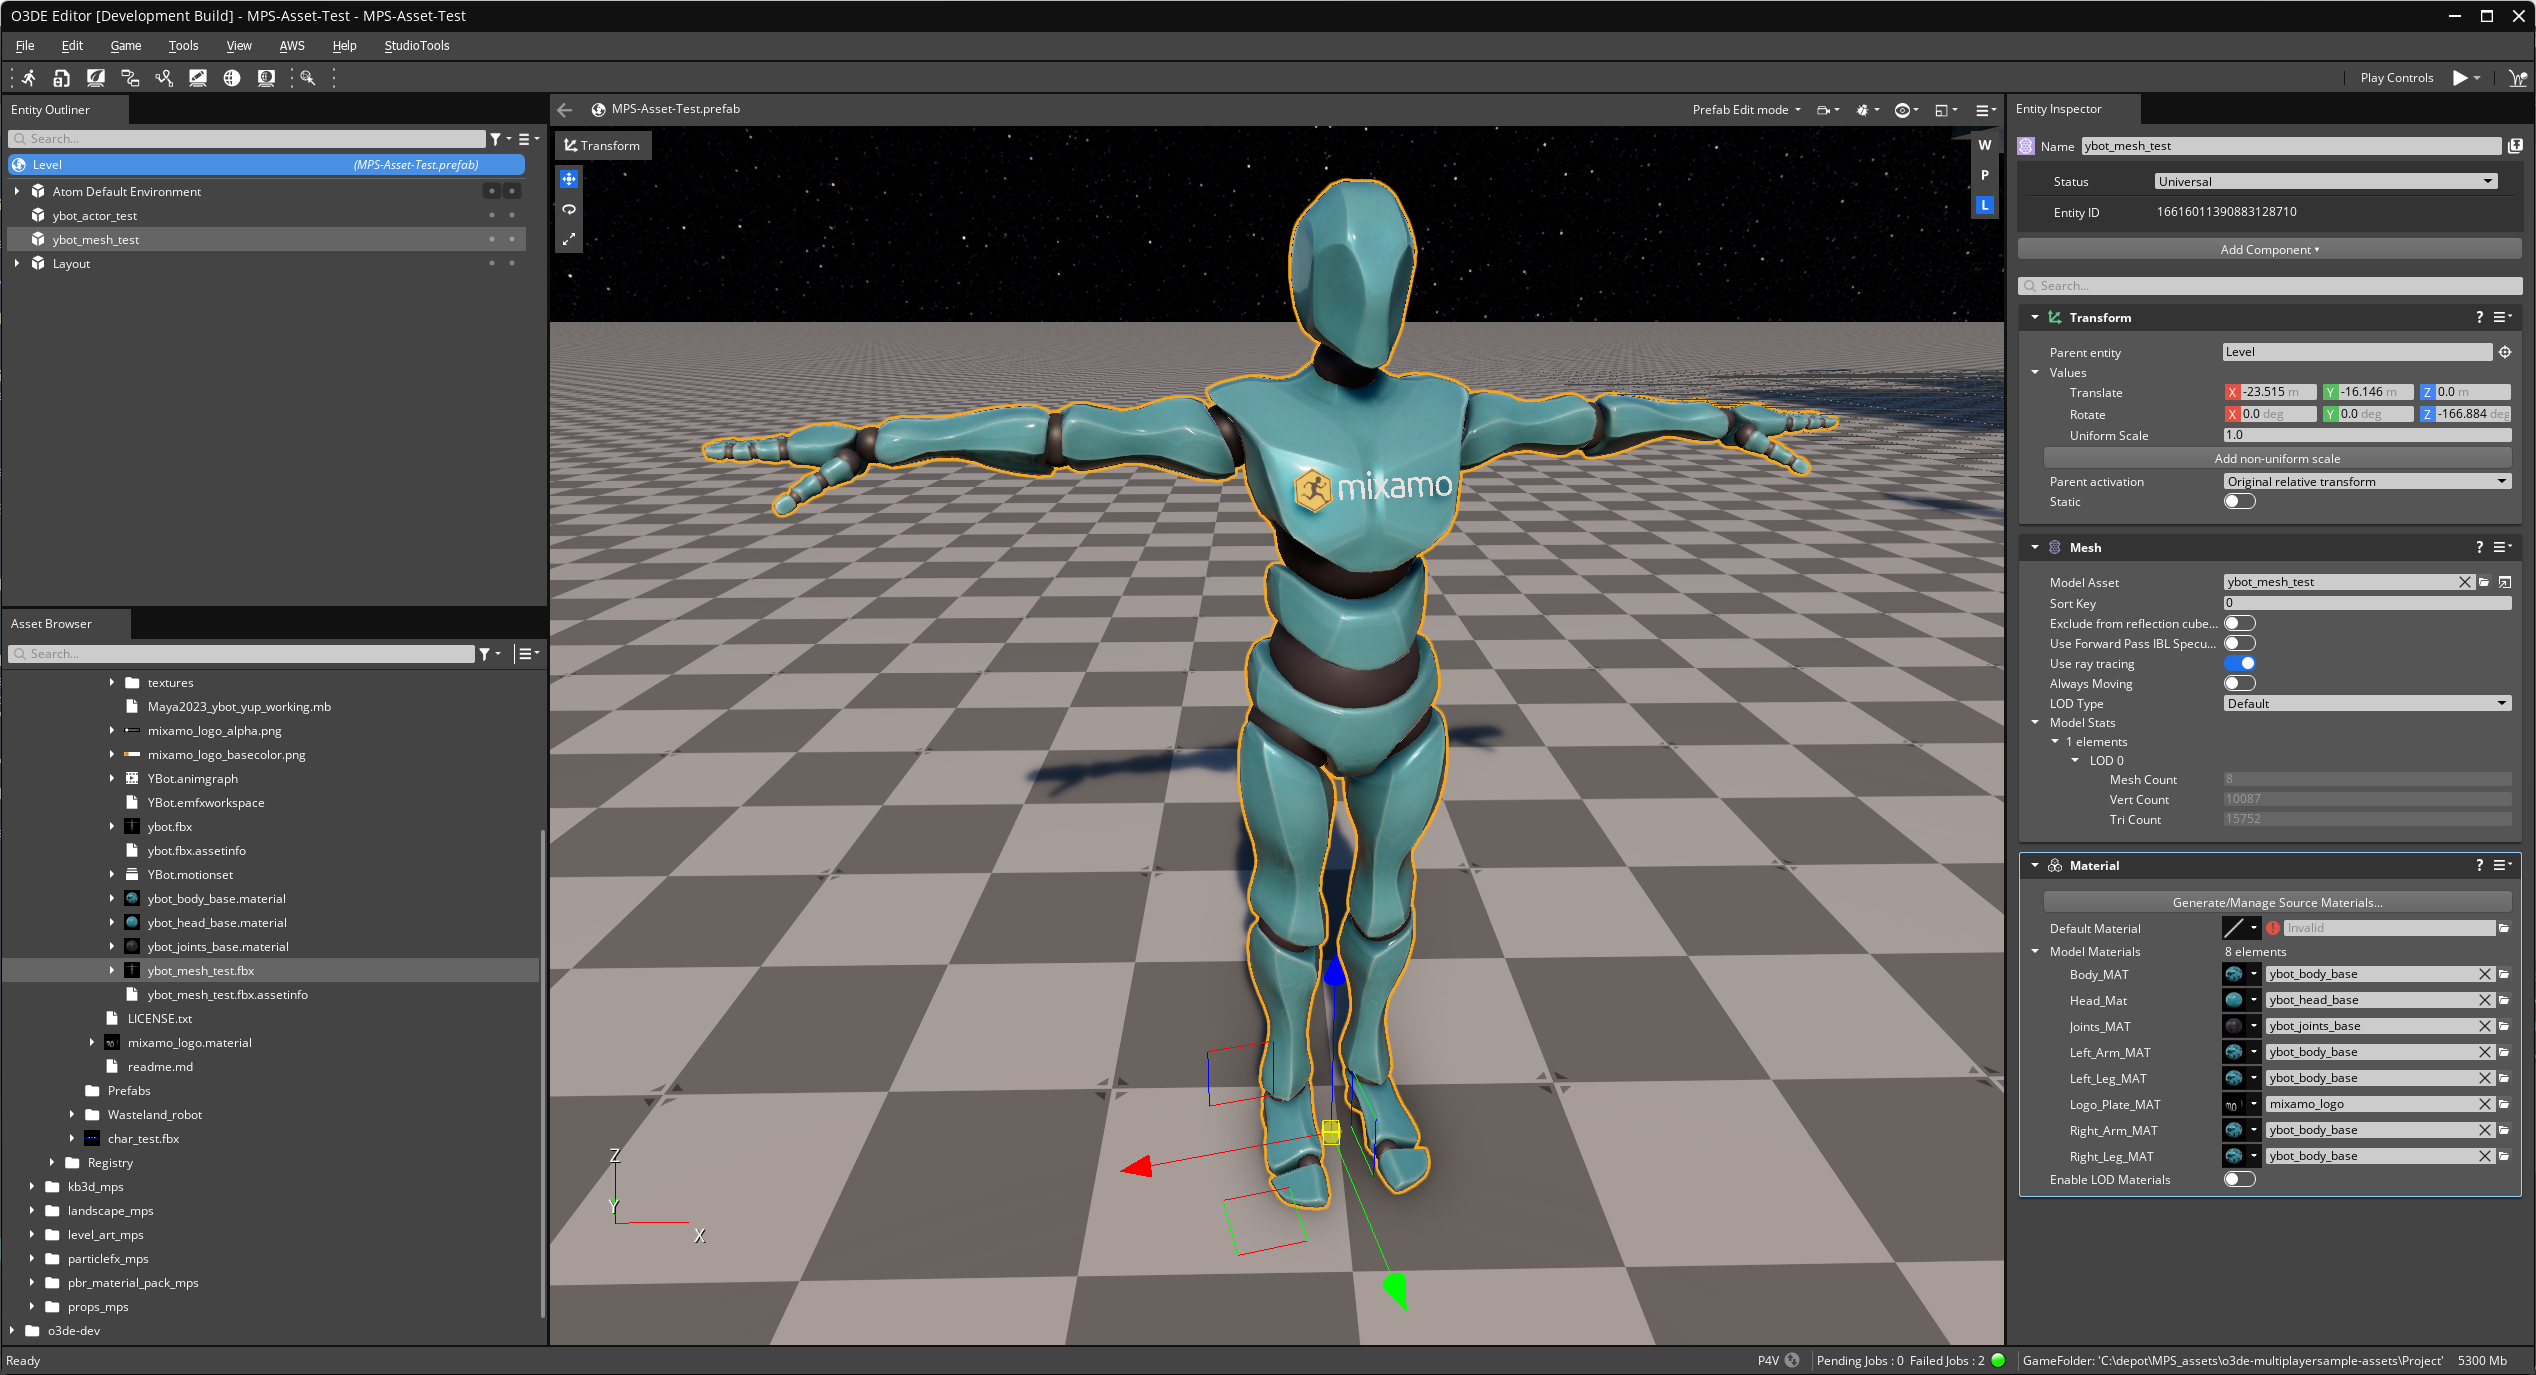
Now we can bring this into a game level and validate the mesh and materials.
- Open the Editor, and open a level (I used the MPS-Asset-Test project and level of the same name.)
- Create an Entity, add a Mesh component.
- in the Mesh component, load the
ybot_mesh_test.fbxasset (aka ModelAsset)
At this point, you'll see the mesh load and some default materials. Note: we call these the 'default dcc materials' (.azmaterials), these are owned by the FBX scene (and will update along with changes to that scene), they are the materials the mesh pipeline automatically generates from the materials nodes. They only exist as product outputs in the cache, and not in the source assets folder. But, we could later convert these to editable source materials that do live in the asset folder (but we aren't going to do that for this workflow.)
We used the Material Editor, to create 3 base materials: ybot_head_base.material, ybot_body_base.material, ybot_joints_base.material
- In each material, we loaded all our texture maps, and tuned the other material settings.
- Add the Material Component to the YBot entity.
- Use the material assignment slots, to assign our base materials. Note: we shared the ybot_body_base.material, on the body, both arms and both legs.
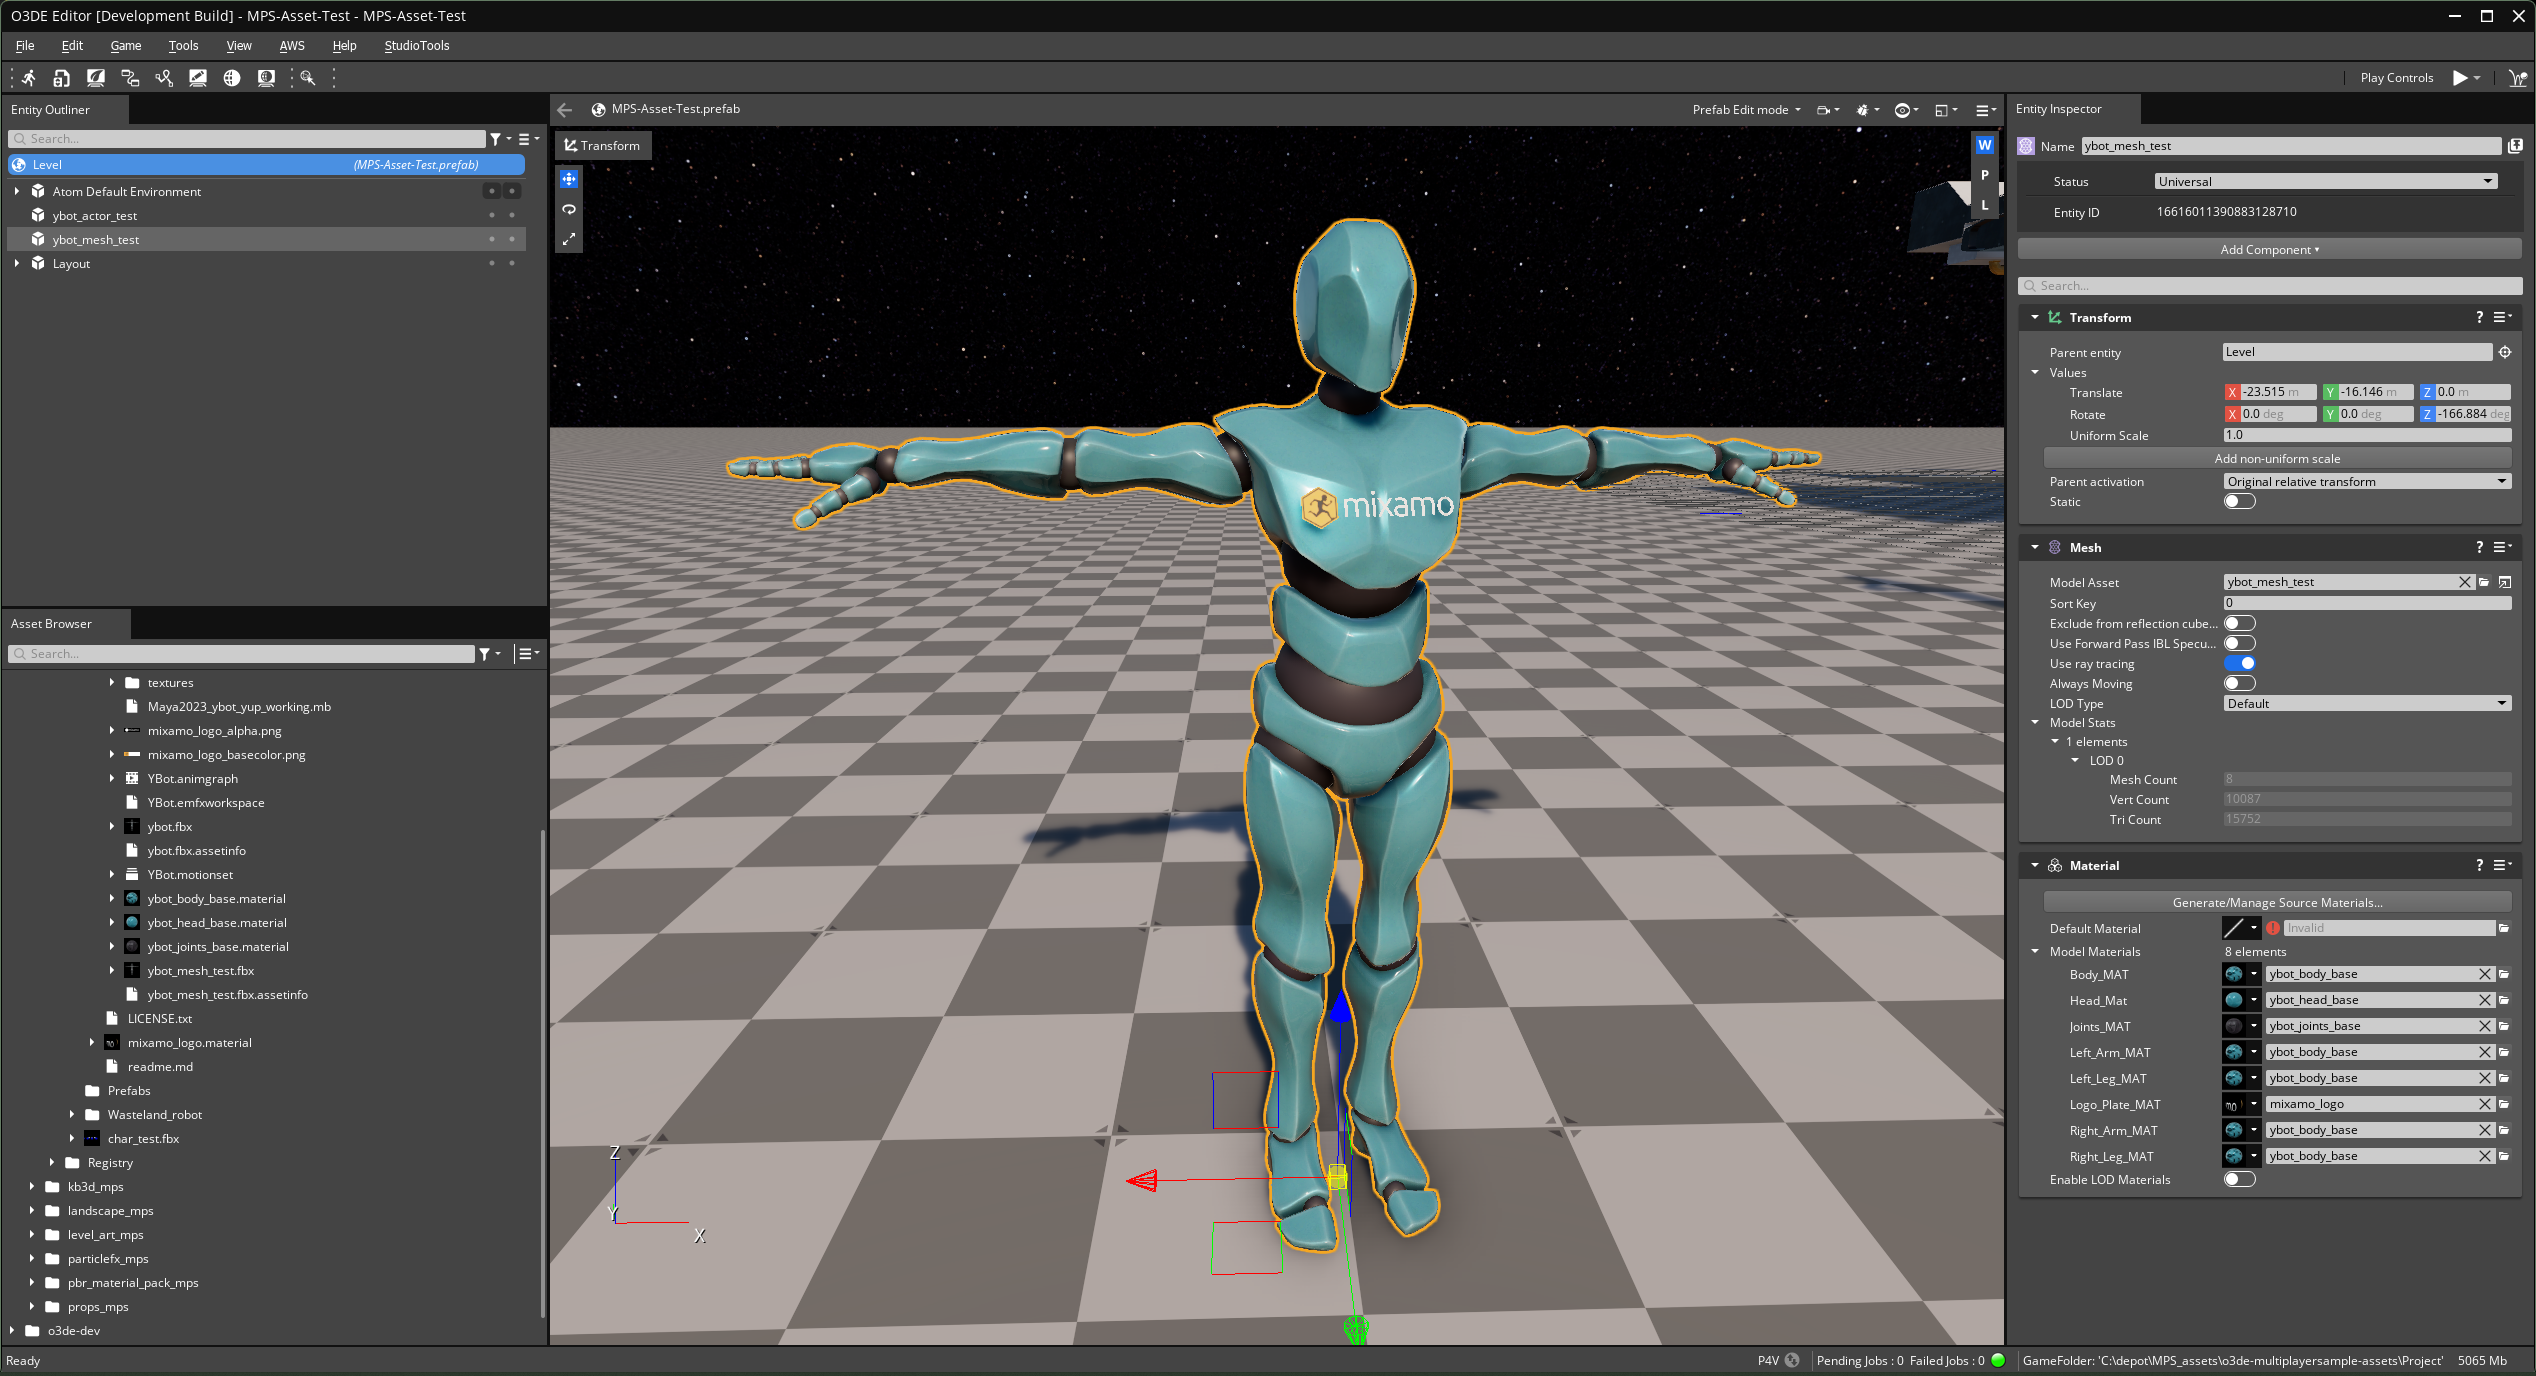
- Here are the results ...
YBot Model, LODs
Next we exported the Ybot Alpha_Mesh (the final optimized model), as an .OBJ and imported it into Mesh Lab to generate additions mesh LODs, I used this as well as mix-and-match of Maya reduction tools and some manual adjustments.
< to do: finish >
YBot Actor, Skeleton LODs
< to do: nest steps, setting up the Actor with Mesh LODs, skeleton LODs, etc. >
YBot Actor, Character Attachments
< to do >
