Hugo Locurcio
b4eff8de9d
Update all demos for Godot 4.6, fix Global Illumination demo
Hugo Locurcio
b4eff8de9d
Update all demos for Godot 4.6, fix Global Illumination demo
|
2 weeks ago | |
|---|---|---|
| .. | ||
| addons | 2 weeks ago | |
| screenshots | 4 months ago | |
| .gitignore | 4 months ago | |
| README.md | 4 months ago | |
| icon.webp | 2 years ago | |
| icon.webp.import | 4 months ago | |
| project.godot | 2 weeks ago | |
| test_scene.tscn | 2 weeks ago | |
README.md
Plugin Demos
This contains multiple plugin demos, all placed in a project for convenience.
Due to issue #36713, you need to open the project to import the assets once, then close, then open.
See the documentation on editor plugins for more information.
Language: GDScript
Renderer: Compatibility
Check out this demo on the asset library: https://godotengine.org/asset-library/asset/2802
How does it work?
This project contains 4 plugins:
The custom node plugin shows how to create a custom node type using
add_custom_type. More info.The main screen plugin is a minimal example of how to create a plugin with a main screen. More info.
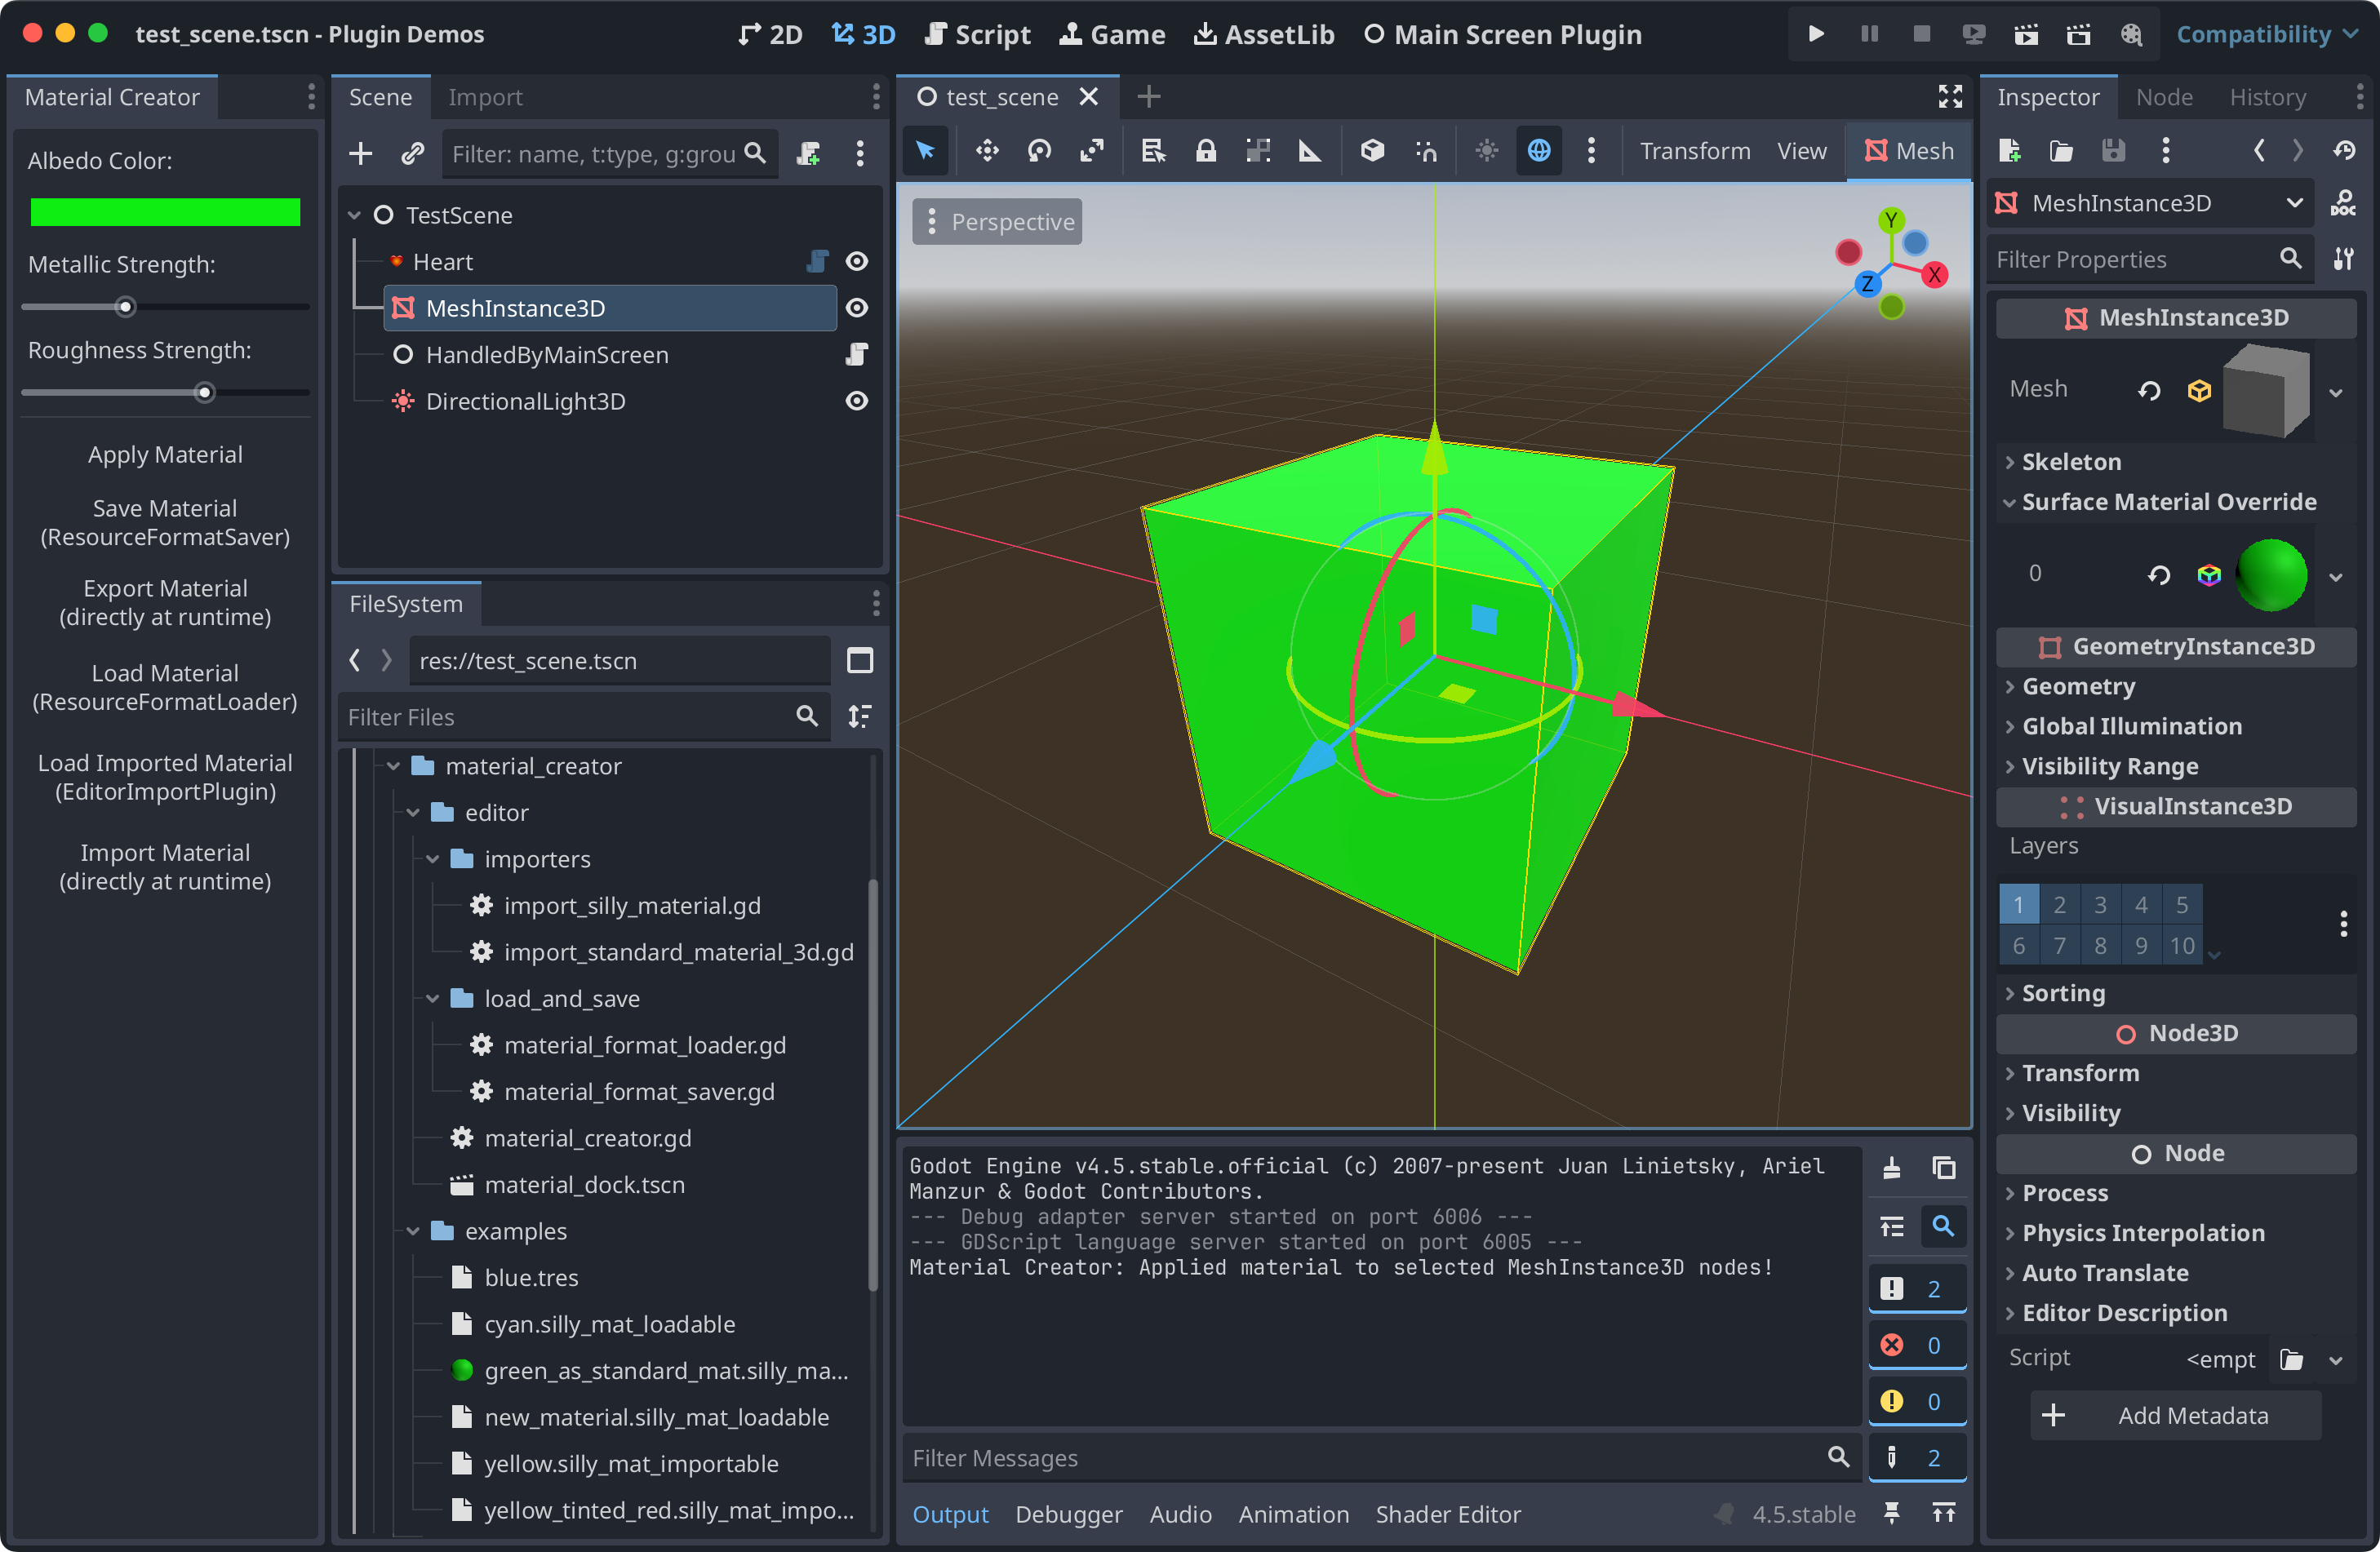
The material creator plugin shows how to add a custom dock with some simple functionality, and shows how to create a custom Resource type with custom loading, saving, importing, and exporting logic, including editor integrations. More info.
The simple import plugin shows how to make a simple plugin handle importing a custom file type (mtxt). More info.
To use these plugins in another project, copy any of these
folders to the addons/ folder in a Godot project, and then
enable them in the project settings menu.
For example, the path would look like: addons/custom_node
Plugins can be distributed and installed from the UI. If you make a ZIP archive that contains the folder, Godot will recognize it as a plugin and will allow you to install it.
This can be done via the terminal: zip -r custom_node.zip custom_node/*
Screenshots